A router replacement or an IP address change on the office network sends QuickBooks Desktop into H-series errors almost immediately. The H-series errors — H202, H505, H101, and H303 — appear when workstations lose their connection to the server computer that hosts the company file. A router change or IP change breaks that connection because QuickBooks relies on the server computer’s network address to route data between the host and each workstation, and both events can silently change that address without any visible notification.
The errors appear suddenly, affect every workstation simultaneously, and have nothing to do with the company file’s data. The accounting data in the company file is intact. The QuickBooks software is functioning correctly. The specific thing that broke is the workstations’ ability to find and reach the server computer on the network — and the reason they can no longer find it is that the server’s address or the network’s name resolution system changed when the router was replaced or the IP address was reassigned.
This article covers every cause of H-series errors that follows a router replacement or IP address change, what each cause breaks in the QuickBooks connection, and the exact steps to restore every workstation’s access. All fixes are based on Intuit’s official documentation on resolving H202 and H505 errors in QuickBooks Desktop.
Table of Contents
Identify Your Specific H-Series Error in 60 Seconds
Each H-series error code identifies a different layer of the connection problem. Match your error code to the section that covers it:
| Error Code | What It Means After a Router or IP Change | Go to Section |
| H202 | Workstation cannot reach the server — IP address or hostname resolution changed | Section 2: H202 Root Causes |
| H505 | One or more workstations is now set to host after the network change | Section 5: Hosting Conflict |
| H101 or H303 | Workstation is acting as a server instead of the designated host | Section 5: Hosting Conflict |
| H202 — ping by IP works, ping by name fails | DNS (hostname lookup) broken by router replacement | Section 3: DNS and Hostname Resolution |
| H202 — all pings fail | Workstation and server are on different network segments after router change | Section 4: Network Configuration |
| H202 — firewall error after new router | New router assigned a new IP that is not in the firewall exception rules | Section 6: Firewall Rules After IP Change |
Tip: Run a ping test from each affected workstation before reading the full sections. The ping result tells you immediately whether the problem is hostname resolution, full network separation, or something else.
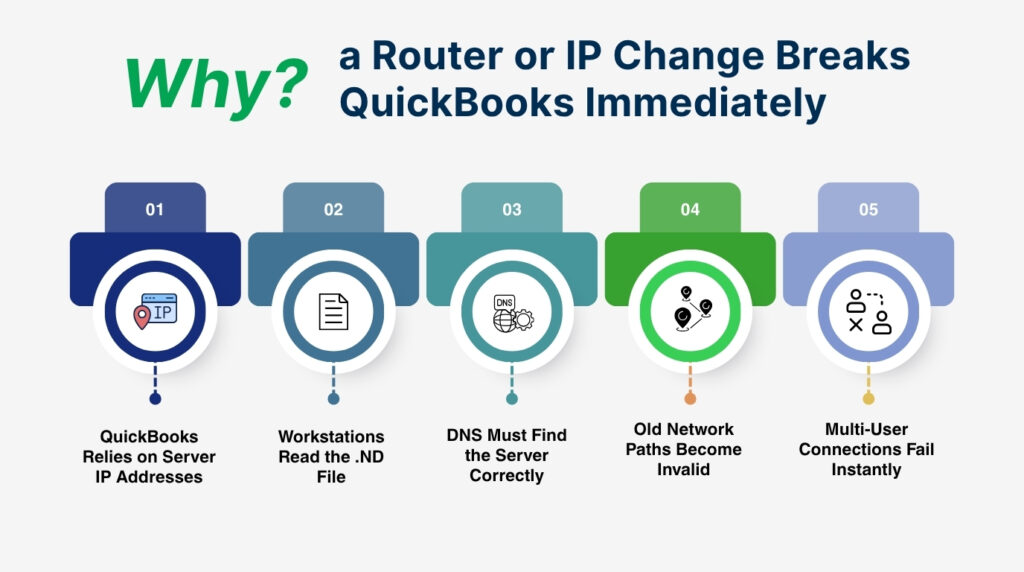
1. Why a Router Change or IP Change Breaks QuickBooks Immediately
How QuickBooks Finds the Server Computer on the Network
QuickBooks Desktop multi-user mode connects workstations to the server using two pieces of information: the server computer’s name — also called its hostname — and the server computer’s IP address. The hostname is the name Windows gives the computer, such as ACCOUNTING-SERVER. The IP address is the numerical network address the router assigns, such as 192.168.1.100. QuickBooks requires access to the server both by IP address and by hostname simultaneously, as confirmed by users who resolved H202 errors by adjusting the hosts file and DNS settings on their workstations.
The .ND file — the Network Descriptor file — sits alongside the company file on the server and records the server computer’s hostname. Every workstation reads this file when it opens QuickBooks to find out which computer to connect to. The workstation takes the hostname from the .ND file, asks the network to translate that hostname into an IP address — a process called DNS resolution — and connects to the server at that IP address. A router replacement or IP address change can break either the DNS resolution step or the IP address itself, or both simultaneously.
Intuit’s documentation on H202 errors identifies the inability to get the IP address of the host system as one of the direct causes of H202. A new router changes the IP addresses it assigns to every device on the network. The server computer that was at 192.168.1.100 before the router change may now be at 192.168.1.50 or 192.168.0.100, depending on the new router’s configuration. Workstations that try to connect to the old address reach nothing, producing H202 on every session where they attempt to open the company file in multi-user mode.
Three Network Changes That Trigger H-Series Errors
- Router replacement: A new router starts a fresh DHCP range — the range of IP addresses it hands out to devices. Every computer on the network receives a new IP address from the new router. The server’s old IP address becomes invalid, and workstations that still point to it get H202 because the address leads nowhere.
- Router restart or firmware update: A router restart reassigns IP addresses to all connected devices. A device that held 192.168.1.100 before the restart may receive 192.168.1.105 after it, because other devices reconnected to the network first and took addresses in the queue before the server did. This is the most common cause of H202 errors that appear without any visible hardware change.
- IP address conflict or reassignment: A DHCP server — the service inside the router that assigns IP addresses — reassigns addresses when their lease period expires. A lease period is the time a device is allowed to keep a specific IP address before the router may reassign it. A server computer with an expired DHCP lease that gets a new IP address from the router breaks every workstation connection that pointed to the old address.
2. H202: What Breaks and How to Diagnose It
What H202 Tells You About the Connection
Error H202 displays the message: This company file is on another computer, and QuickBooks needs some help connecting. Intuit’s documentation on H202 states that the error occurs when something blocks the multi-user connection to the server computer. After a router change or IP address change, the block is almost always one of three things: the workstation is trying to reach an IP address the server no longer has, the workstation cannot translate the server’s hostname into any IP address because the DNS service changed, or the firewall on the server is blocking the new IP range that the router is using.
H202 appears on the workstation, not on the server. The server continues running QuickBooks Database Server Manager and hosting the company file correctly. The failure is specifically in the workstation’s ability to reach the server over the network. This distinction matters because it tells you where to focus the fix: the problem is between the workstation and the server, not inside QuickBooks or inside the company file.
The Ping Test: First Step for Every H202 After a Network Change
Intuit’s official H202 troubleshooting guide includes a specific step to ping the server from each workstation getting the error. A ping is a test where the workstation sends a small signal to the server and waits for a reply — it confirms whether the workstation can reach the server at all and how fast the connection is. Open the Command Prompt on the affected workstation by typing cmd in the Windows Start menu. Type ping followed by the server computer’s name — for example, ping ACCOUNTING-SERVER — and press Enter.
Intuit’s guidance states: if you get a reply for each packet with no loss, the server is reachable by name and the network connection is working. Move on to the QuickBooks service and firewall checks. If there is packet loss or no reply at all when pinging by name, the workstation cannot find the server on the network. Also run a second ping using the server’s IP address directly — for example, ping 192.168.1.50. A successful ping by IP address combined with a failed ping by name confirms that the network connection is fine but hostname resolution is broken — the workstation cannot translate the server’s name into the correct IP address.
Intuit also requires that Network Discovery be turned on before the ping test will work correctly. Network Discovery is a Windows setting that allows computers on the same network to see each other. Open the Windows Start menu, type Network, open the Network and Sharing Center, select Change advanced sharing settings, and confirm that Turn on network discovery and Turn on file and printer sharing are both selected on the server computer and on each workstation showing H202.
H202 Ping Test Results and What Each Means
| Ping Test Result | What It Means | Next Step |
| Ping by name succeeds — 0% packet loss | Network connection is fine; QuickBooks service or firewall is the issue | Check QuickBooksDBXX and QBCFMonitorService in services.msc |
| Ping by name fails — ping by IP succeeds | Hostname resolution broken by router change; DNS not translating the name | Edit the hosts file on the workstation to add the server name and IP |
| Both ping by name and ping by IP fail | Workstation and server are on different network segments | Check router subnets; confirm both computers are on the same network |
| Ping succeeds but response time is very slow (over 100ms) | Network path is congested or going through an unnecessary extra hop | Check router configuration for routing loops or extra network hops |
3. DNS and Hostname Resolution Broken by a Router Change
What DNS Resolution Is and Why a New Router Breaks It
DNS stands for Domain Name System. On an office network, DNS resolution is the process that translates a computer’s name — such as ACCOUNTING-SERVER — into its IP address, the numerical address that the network uses to route data. Every time a QuickBooks workstation opens the company file, it reads the server’s hostname from the .ND file and asks the network’s DNS service to translate that hostname into an IP address. The workstation then connects to the server at that address.
A new router replaces the previous router’s DNS service with its own. The new router starts fresh — it does not import the hostname-to-IP address records from the old router. If the old router was running a local DNS service that resolved ACCOUNTING-SERVER to 192.168.1.100, the new router has no knowledge of that record. Workstations that ask the new router to resolve ACCOUNTING-SERVER receive no answer or an incorrect one, and the QuickBooks connection fails at the hostname translation step. The ping by name fails even though the network cable and the router itself are working correctly.
How to Fix DNS Resolution After a Router Change
The fastest fix for a DNS resolution failure on specific workstations is to edit the Windows hosts file on each affected workstation. The hosts file is a text file on every Windows computer at C:\Windows\System32\drivers\etc\hosts. This file maps hostnames to IP addresses directly on the workstation, bypassing the router’s DNS service entirely. A workstation that has the server’s correct hostname and IP address in its hosts file resolves the address correctly regardless of what the router’s DNS returns.
Open Notepad on the workstation as an administrator — right-click the Notepad icon and select Run as administrator. Go to File, Open, navigate to C:\Windows\System32\drivers\etc, change the file type dropdown to All Files, and open the file named hosts. Scroll to the bottom of the file. Add a new line in this format: 192.168.X.X ACCOUNTING-SERVER — replacing 192.168.X.X with the server computer’s current IP address and ACCOUNTING-SERVER with the server computer’s actual name. Save the file. The workstation now resolves the server’s hostname correctly using this local record, bypassing the DNS failure from the router change.
To find the server computer’s current IP address after the router change, go to the server computer, open the Windows Start menu, type cmd, and open Command Prompt. Type ipconfig and press Enter. The IPv4 Address line shows the server’s current IP address as assigned by the new router. Use this address in the hosts file entry on each workstation. After saving the hosts file, restart QuickBooks on the workstation and attempt to open the company file in multi-user mode.
4. Server IP Address Changed by New Router
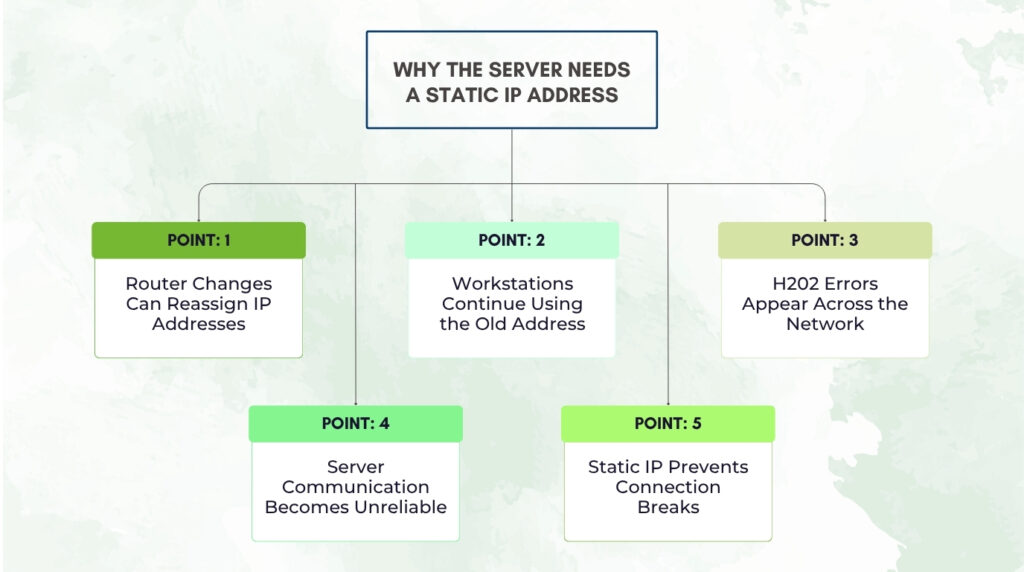
Why the Server Needs a Stable IP Address for QuickBooks
The server computer’s IP address changes every time the router assigns it a new one — which happens when the router restarts, when the DHCP lease expires, or when a new router is installed. QuickBooks workstations that learned the server’s IP address from a previous connection or from the hosts file continue trying to reach the server at the old address. The old address either belongs to a different device now or leads to nothing at all, producing H202 on every workstation that tries to connect.
The permanent solution to IP address changes causing H202 errors is to assign the server computer a static IP address. A static IP address is one that never changes — it is set manually on the server computer instead of being assigned automatically by the router. The router still manages the rest of the network, but the server always uses the same fixed address regardless of router restarts, router replacements, or DHCP lease expirations. Multiple QuickBooks communities and QuickBooks best-practice guides recommend assigning a static IP to the host server specifically to prevent recurring H202 errors after network changes.
How to Set a Static IP Address on the Server Computer
First, find the server computer’s current IP address and the router’s gateway address. On the server computer, open Command Prompt and type ipconfig. Note the IPv4 Address (for example 192.168.1.100), the Subnet Mask (usually 255.255.255.0), and the Default Gateway (the router’s address, typically 192.168.1.1 or 192.168.0.1). These values become the static IP configuration.
Open Control Panel on the server computer. Go to Network and Internet, then Network and Sharing Center. Click Change adapter settings. Right-click the active network connection — the one labeled Ethernet or Local Area Connection — and select Properties. Double-click Internet Protocol Version 4 (TCP/IPv4). Select Use the following IP address. Enter the IP address you want the server to keep permanently — use the same address it currently has, or choose one outside the router’s DHCP range to prevent conflicts. Enter the Subnet Mask, Default Gateway, and a DNS server address. Click OK on all open windows. The server computer now holds its IP address permanently.
After setting the static IP address, update the hosts file on every workstation with the new permanent address so that every workstation resolves the server’s hostname to the correct IP. Also run a Database Server Manager scan on the server to rebuild the .ND file with the current network information. Open QuickBooks Database Server Manager, go to Scan Folders, confirm the company file folder is listed, click Start Scan, and wait for the scan to complete before testing the workstation connections.
5. Hosting Conflict After Router Change — H505, H101, H303
Why a Router Change Can Activate Hosting on Workstations
Errors H505, H101, and H303 appear when one or more workstations are set to host the company file instead of — or in addition to — the designated server. These errors can appear after a router change for a specific reason: a router change can reset the network configuration in a way that causes QuickBooks on certain workstations to lose their connection to the server and fall back to local hosting mode. A workstation that cannot reach the server may automatically enable hosting locally, which creates the hosting conflict that H505 and H101 report.
Intuit’s documentation on H505, H101, and H303 states that these errors occur when one or more workstations is set to be the server for QuickBooks. The server computer — the computer that physically stores the company file — should be the only computer set to host multi-user mode. The Host Multi-User Access option should be turned off on every workstation. A router change that triggers these errors requires the same fix regardless of what caused the workstation to enter hosting mode: turn hosting off on the workstation.
How to Check and Correct the Hosting Conflict
Open QuickBooks on each workstation that shows H505, H101, or H303 — open the program but do not open the company file. Go to the File menu and hover over Utilities. Read the option in the submenu carefully. The option should read Host Multi-User Access — this means hosting is correctly off on that workstation. If the option reads Stop Hosting Multi-User Access, click it immediately. Clicking Stop Hosting Multi-User Access turns hosting off on that workstation and removes the conflict. Repeat this check on every workstation on the network, not just the ones showing the error.
After turning off hosting on all workstations, confirm the server computer still has hosting on. Open QuickBooks on the server, go to File, hover over Utilities, and confirm the option reads Stop Hosting Multi-User Access — that label confirms hosting is active and correctly enabled on the server. Go to File and select Switch to Multi-User Mode on the server. Then open QuickBooks on each workstation and select File, Switch to Multi-User Mode. A successful switch from every workstation confirms the hosting conflict is resolved.
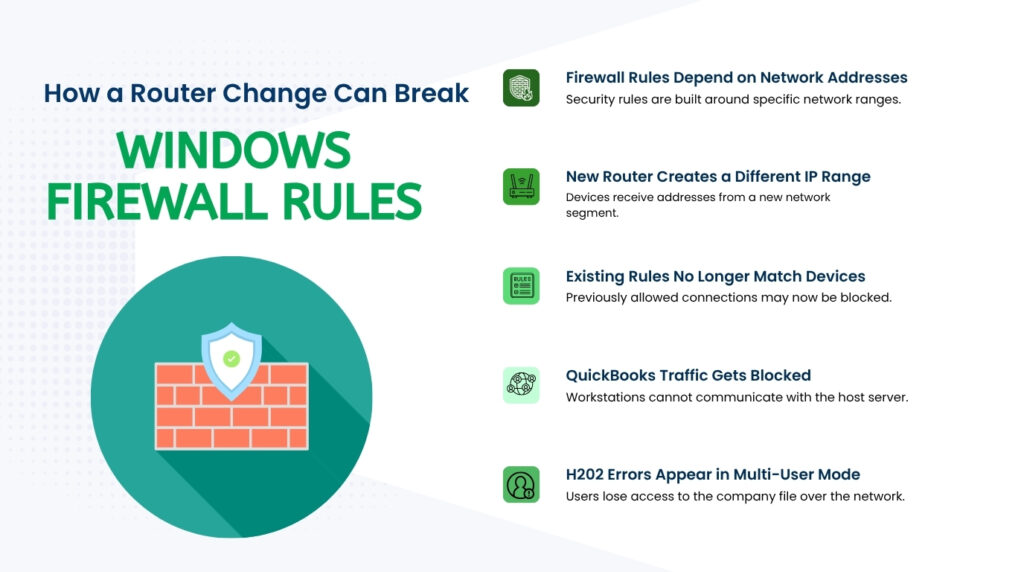
6. Firewall Rules Invalidated by a New IP Address
How the Windows Firewall Uses IP Addresses and Why a Change Breaks It
Windows Firewall controls which network traffic is allowed to pass through the computer’s network connection. QuickBooks requires specific rules in the Windows Firewall to allow the QuickBooks services to send and receive data on their specific ports — port 8019 and the version-specific dynamic ports. Some firewall rules are written to allow traffic from a specific range of IP addresses — for example, from any address in the 192.168.1.0 range. A new router that uses a different address range — for example, 192.168.0.0 instead of 192.168.1.0 — places every device in the office outside the address range the firewall rule was written for, blocking QuickBooks traffic even though the firewall rules are still present.
Intuit’s H202 troubleshooting guide addresses firewall configuration as a key step in resolving the error. The guide directs users to open QuickBooks Database Server Manager and run a scan, because the scan repairs firewall permissions automatically. Running the scan after a router change or IP address change re-applies the firewall rules for the current network configuration without requiring manual firewall editing. The scan confirms the QuickBooks executables have the correct firewall exceptions and that the ports QuickBooks needs are open.
How to Restore Firewall Rules After a Network Change
Run a QuickBooks Database Server Manager scan on the server computer as the first firewall restoration step. Open the Windows Start menu, search for QuickBooks Database Server Manager, and open it. Go to the Scan Folders tab, confirm the company file folder is listed, and click Start Scan. The scan rebuilds the .ND file and applies the firewall exception rules that QuickBooks needs for the current network. After the scan completes, test the connection from each workstation before attempting any manual firewall changes.
Also run QuickBooks File Doctor from the QuickBooks Tool Hub. Download Tool Hub from Intuit’s official website, install it, open it, go to the Network Issues tab, and select Run QuickBooks File Doctor. The File Doctor checks the firewall configuration, the hosting settings, the .ND file, and the QuickBooks services simultaneously and repairs each problem it finds. Intuit confirms that QuickBooks File Doctor diagnoses and resolves H202, H101, H303, and H505 errors including those caused by network configuration changes.
For manual firewall verification, open Control Panel on the server computer, go to Windows Defender Firewall, and select Advanced Settings. Check the Inbound Rules and Outbound Rules lists for QuickBooks entries. Confirm that rules exist for QuickBooks ports and that those rules are set to Allow the Connection on all three profiles: Domain, Private, and Public. If the new router placed the network in a different profile category — for example, if it assigned a Public profile instead of a Private one — adding the port rules to the Public profile in addition to the Private profile ensures QuickBooks traffic passes through regardless of how the router classifies the network.
7. Rebuilding the .ND File After a Network Change
What the .ND File Contains and Why It Needs Rebuilding
The .ND file — Network Descriptor file — is a small configuration file that QuickBooks stores in the same folder as the company file. It contains the server computer’s hostname and network connection information. Every workstation reads the .ND file when it opens QuickBooks to find out where the server is and how to connect. A .ND file that was created before the router change or IP address change contains the server’s old network information. The file points workstations to connection details that are no longer accurate, and the workstation fails to connect even if the actual network is working correctly.
Rebuilding the .ND file is a required step after any router change or IP address change. Intuit’s fix for H202 errors includes renaming the .ND file and rescanning with Database Server Manager to create a fresh one. Rename the .ND file by going to the folder containing the company file, finding the file with the same name as the company file but with a .ND extension — for example, CompanyName.QBW.ND — right-clicking it, selecting Rename, and adding .OLD to the end of the name. This does not delete any accounting data. QuickBooks rebuilds the .ND file automatically during the next Database Server Manager scan.
How to Rebuild the .ND File
After renaming the .ND file, open QuickBooks Database Server Manager on the server computer. Go to the Scan Folders tab, confirm the folder containing the company file is listed, and click Start Scan. The scan reads the current network configuration — including the server computer’s current hostname and IP address — and creates a fresh .ND file with that information. The new .ND file replaces the outdated one that was pointing workstations to the old router configuration. Close Database Server Manager after the scan completes.
Open QuickBooks on the server computer and go to File, select Switch to Multi-User Mode. Confirm the file opens in multi-user mode on the server without errors before testing any workstations. Then open QuickBooks on each workstation, go to File, and select Switch to Multi-User Mode. A workstation that successfully opens the company file in multi-user mode has correctly resolved the server’s new network address from the fresh .ND file. Any workstation that still gets H202 after the scan likely has a DNS resolution problem that requires a hosts file entry as described in Section 3.
8. Prevention: Stop H-Series Errors Before the Next Network Change
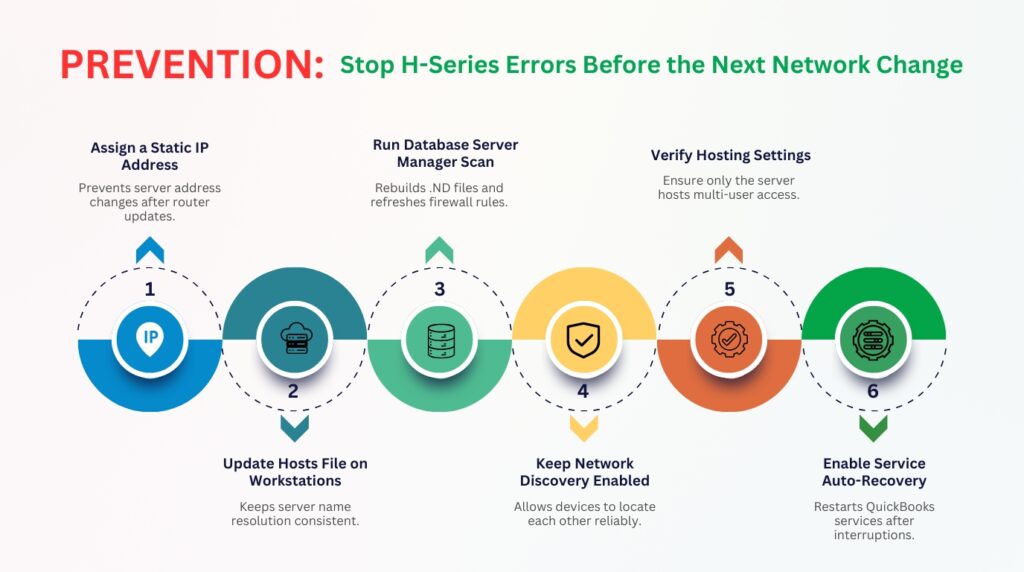
Router replacements and IP address changes are routine network maintenance events. Every business replaces routers eventually, and every DHCP-assigned address can change after a restart. The steps below make the QuickBooks multi-user connection resistant to these network events so that H-series errors do not appear after the next router change or IP reassignment.
- Assign a static IP address to the server computer that hosts the company file: A static IP address does not change when the router restarts or is replaced. Set the server computer’s IP address manually in its network adapter settings using an address outside the router’s automatic assignment range. Update the workstations’ hosts files with this permanent address. After this change, router replacements and restarts stop causing H202 errors.
- Add the server’s hostname and static IP to the hosts file on every workstation: The hosts file at C:\Windows\System32\drivers\etc\hosts on each workstation resolves the server’s hostname locally without relying on the router’s DNS service. A hosts file entry survives router replacements intact and keeps hostname resolution working even when the router’s DNS has no record of the server’s name.
- Run a Database Server Manager scan immediately after any router change or network modification: A scan rebuilds the .ND file with the current network information and restores the Windows Firewall rules that the router change may have invalidated. Running the scan before users open QuickBooks the next morning prevents H202 errors from interrupting the work day.
- Keep Network Discovery turned on permanently on the server computer and all workstations: Network Discovery allows computers on the same network to find each other by name. Intuit’s H202 fix guide requires Network Discovery to be on for the ping test and connection steps to work. Open Network and Sharing Center, go to Advanced sharing settings, and confirm Turn on network discovery is selected for both Private and Domain profiles.
- Confirm hosting is active only on the server after any network change: A router change can cause workstations to activate local hosting mode when they temporarily lose contact with the server. Check every workstation’s Utilities menu after any router change and disable Stop Hosting Multi-User Access on any workstation where it appears as an active option.
- Set the server computer’s QuickBooks services to restart automatically after network interruptions: Open services.msc on the server, find QuickBooksDBXX and QBCFMonitorService, go to the Recovery tab for each, and set the First failure, Second failure, and Subsequent failures to Restart the Service. A router restart that briefly stops these services allows them to recover automatically instead of remaining stopped until someone manually intervenes.
- Run QuickBooks File Doctor from Tool Hub after any H-series error: Download Tool Hub from Intuit’s official website and run File Doctor from the Network Issues tab. The tool checks hosting settings, the .ND file, the firewall, and the QuickBooks services in one pass and repairs each problem it finds automatically. This resolves most post-network-change H202 errors without manual steps.
Conclusion
H-series errors after a router change or IP address change are predictable — they happen because QuickBooks relies on the server computer’s network address to connect workstations to the company file, and a router change can alter that address without any warning. H202 appears because the workstation is trying to reach an address the server no longer has. H505, H101, and H303 appear because a workstation activated local hosting mode when it temporarily lost contact with the server.
Every H-series error this article covers has a specific, documented fix. A failed ping by name points to a hosts file fix. A changed IP address points to a static IP assignment. A firewall rule failure points to a Database Server Manager scan. A hosting conflict points to turning off Host Multi-User Access on the affected workstations. Each fix addresses one specific layer of the connection, and the QuickBooks File Doctor from Intuit’s Tool Hub identifies which layer failed and repairs it automatically when the cause is not immediately clear.
The single most effective prevention against router-related H-series errors is assigning the server computer a static IP address. A server with a permanent, unchanging IP address is immune to DHCP reassignment, immune to router replacement, and immune to router restart — three events that produce H202 errors in networks where the server holds a dynamic address. Combine the static IP with a hosts file entry on every workstation, and the QuickBooks multi-user connection survives routine network changes without any accounting downtime.
Frequently Asked Questions
Q1. QuickBooks worked fine this morning and H202 appeared after lunch with no changes made — what happened?
This pattern points to a DHCP lease expiration. A DHCP lease is the time limit on how long a router lets a device keep a specific IP address. The server computer’s DHCP lease expired, the router reassigned it a new IP address, and workstations that still pointed to the old address got H202. Confirm the server’s current IP address using ipconfig in Command Prompt on the server. Update the hosts file on each affected workstation with the new address. Prevent recurrence by assigning the server a static IP address that never expires.
Q2. The new router is from the same brand as the old one — why did QuickBooks still break?
A same-brand router still assigns IP addresses from its own fresh DHCP pool when installed, without importing the previous router’s address assignments. The server computer received a new IP address from the new router because the new router had no record of the previous assignment. The hostname-to-IP records in the old router’s DNS service also did not transfer to the new router. Run a Database Server Manager scan to rebuild the .ND file, update the hosts file on workstations with the server’s new IP, and assign a static IP to prevent the same issue after the next router change.
Q3. The ping test from the workstation to the server fails completely — what does that mean?
A complete ping failure — no reply from either the server’s name or its IP address — means the workstation and the server are not on the same network segment, or one of them has a firewall blocking ping traffic. First confirm both computers are connected to the same router and not to different routers or network segments. Check that both computers show a network connection in their taskbar. Then confirm Windows Firewall on the server is not blocking ICMP traffic — the traffic type that ping uses. Intuit’s H202 guide recommends contacting an IT professional if the ping fails completely, as the problem is in the network infrastructure rather than in QuickBooks.
Q4. After adding the server’s IP to the hosts file on a workstation, H202 still appears — what is missing?
A hosts file entry resolves the hostname to an IP correctly, but H202 can persist if the QuickBooks services on the server are not running or if the firewall is blocking the QuickBooks ports. After confirming the hosts file is saved correctly, go to the server computer and open services.msc. Confirm QuickBooksDBXX and QBCFMonitorService both show Running status. Then run QuickBooks Database Server Manager and click Start Scan to rebuild the .ND file and restore firewall exceptions. Finally, run QuickBooks File Doctor from Tool Hub to check whether any remaining firewall or service issue is blocking the connection.
Q5. How do I find the new router’s IP address range so I can assign a static IP outside that range?
Open Command Prompt on the server computer and type ipconfig. The Default Gateway line shows the router’s own IP address — for example, 192.168.1.1. The router typically assigns addresses starting from that base — such as 192.168.1.2 through 192.168.1.254. Choose a static IP address near the top of that range, such as 192.168.1.200, and log into the router’s admin page — usually by typing the Default Gateway address into a browser — to check the router’s DHCP range settings. A DHCP range that stops at 192.168.1.150 means addresses from 192.168.1.151 upward are safe to use as static addresses without conflict. Set the server to 192.168.1.200 and it will never receive an automatic reassignment.
Anusmita is a seasoned content writer who brings perspective to words. As a writer, she enriches her work with a journalistic aptitude, utilising her training in Mass Communication and Journalism. She loves to travel and explore, which imparts a greater sense of understanding, maturity, and experience that are reflected in her content.
Beyond her professional work, Anusmita enjoys painting, singing, dancing, and spending time planting. She is also a self-proclaimed foodie who loves exploring different cuisines, an interest that further adds to her curiosity and perspective as a writer.
Leave a Reply