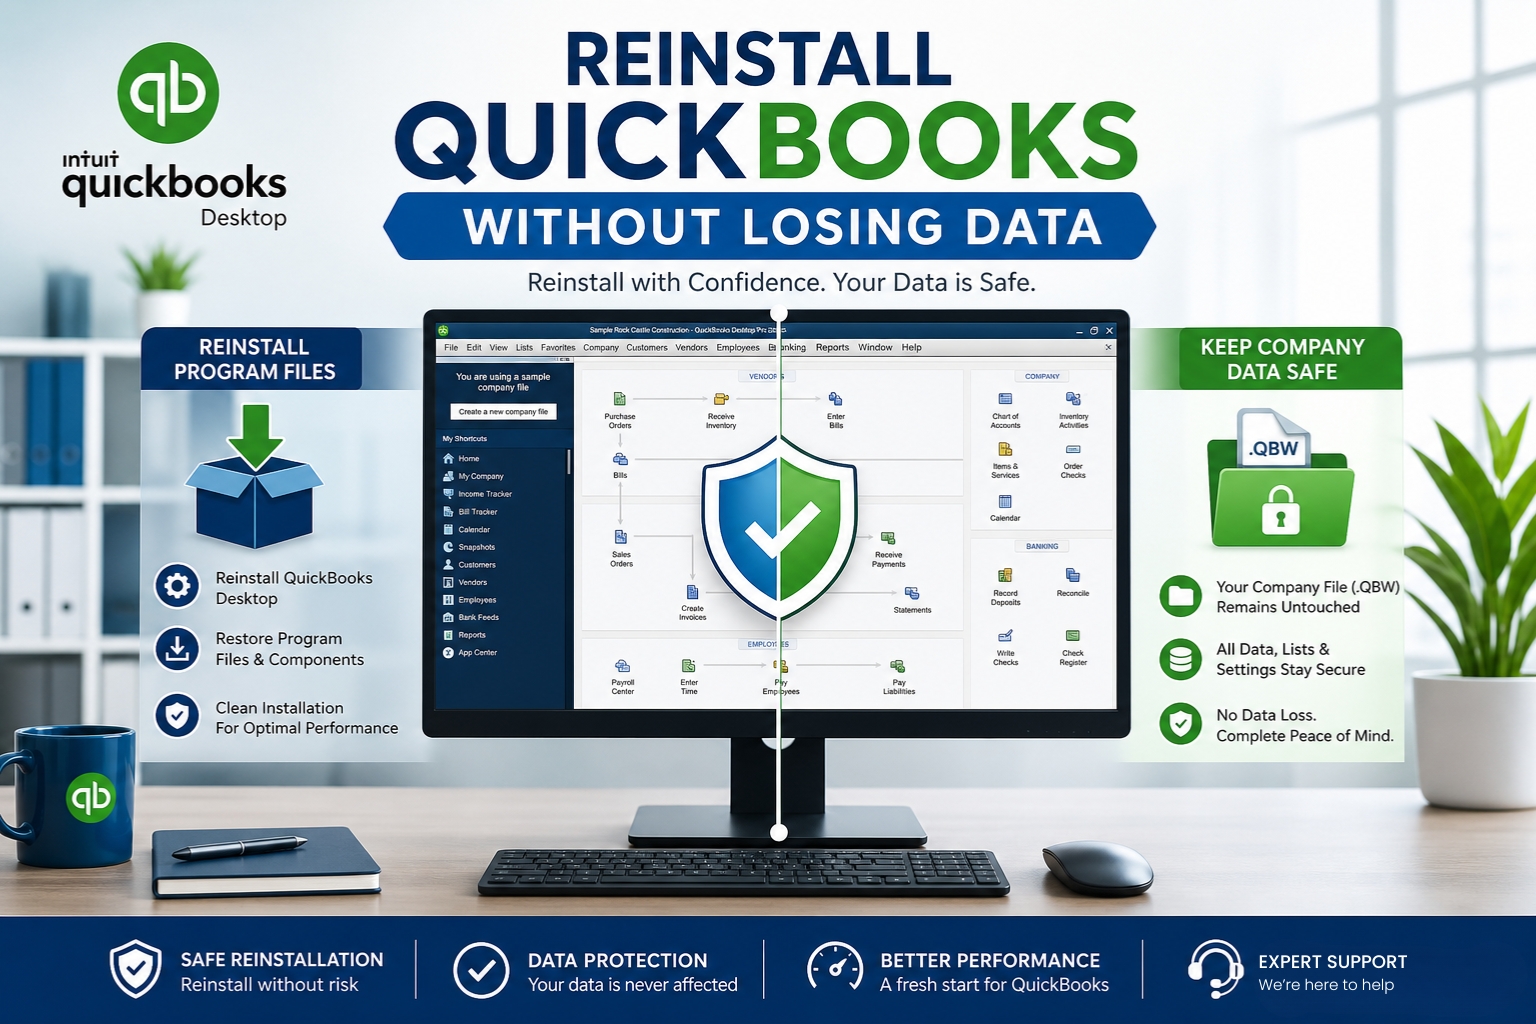
Reinstalling QuickBooks Desktop does not delete company files. The company file – the .QBW file that holds every transaction, invoice, customer record, and financial report – is stored in a separate folder from the QuickBooks program itself. The program lives in C:\Program Files\Intuit\QuickBooks [Year]. The company file lives wherever the business chose to save it, typically in a folder called QuickBooks inside the Documents folder or on a shared network drive. Uninstalling and reinstalling QuickBooks touches only the program folder – the company file folder is never affected.
Intuit’s official reinstall documentation confirms this directly: “When you reinstall, it won’t affect your data at all.” The reinstall process renames old installation folders and creates new ones. The company file and all its associated files stay exactly where they are during the entire process. The only thing that changes is the QuickBooks program itself – its screens, menus, error messages, and configuration files are reset to a clean state, which is exactly what the reinstall is designed to achieve.
A backup is still required before reinstalling – not because the reinstall will delete the company file, but because creating a backup is always the correct step before any major change to a QuickBooks environment. A backup created before the reinstall provides a known-good restore point in case the company file was already damaged before the reinstall started, or in case an unexpected event occurs during the process. This article covers every step of a safe QuickBooks reinstall, from the preparation steps through opening the company file after the new installation finishes.
Table of Contents

When Reinstalling QuickBooks Desktop Is the Right Decision?
Reinstalling QuickBooks is the correct step when the program itself is broken but the company data is intact. A broken QuickBooks program shows specific symptoms: repeated crashes that Quick Fix My Program and the Install Diagnostic Tool cannot resolve, Unrecoverable Errors that appear consistently regardless of which company file is open, installation error codes (1603, 1722, 1334) during update attempts, display problems where QuickBooks windows show blank or corrupted screens, and persistent activation or license errors that renaming the EntitlementDataStore.ecml file does not permanently resolve.
Intuit’s official install guide confirms the specific situations that call for a reinstall: if you run into issues that other troubleshooting tools have not resolved, performing a reinstall is recommended. A QuickBooks Premier 2021 user on Intuit’s community forum described a login pop-up window that stopped loading during an upgrade, preventing any access to the program. Intuit’s response confirmed: “You can uninstall and reinstall QuickBooks Desktop to fix login pop-up issues caused by corrupted files, outdated components during the upgrade process, or an incomplete installation. This will reset the software, update it, and properly configure your license for full functionality.”
Reinstalling QuickBooks does not fix company file damage. If the company file itself has damaged records – which produces symptoms like unbalanced Balance Sheets, missing transactions, or Verify Data reporting integrity loss – a reinstall will not help. The correct fix for company file damage is Verify Data followed by Rebuild Data (File > Utilities > Verify Data, then File > Utilities > Rebuild Data). A reinstall is the correct fix for program damage, not data damage. Distinguishing between the two before starting saves time and avoids an unnecessary reinstall.
Everything to Gather Before Starting the QuickBooks Reinstall
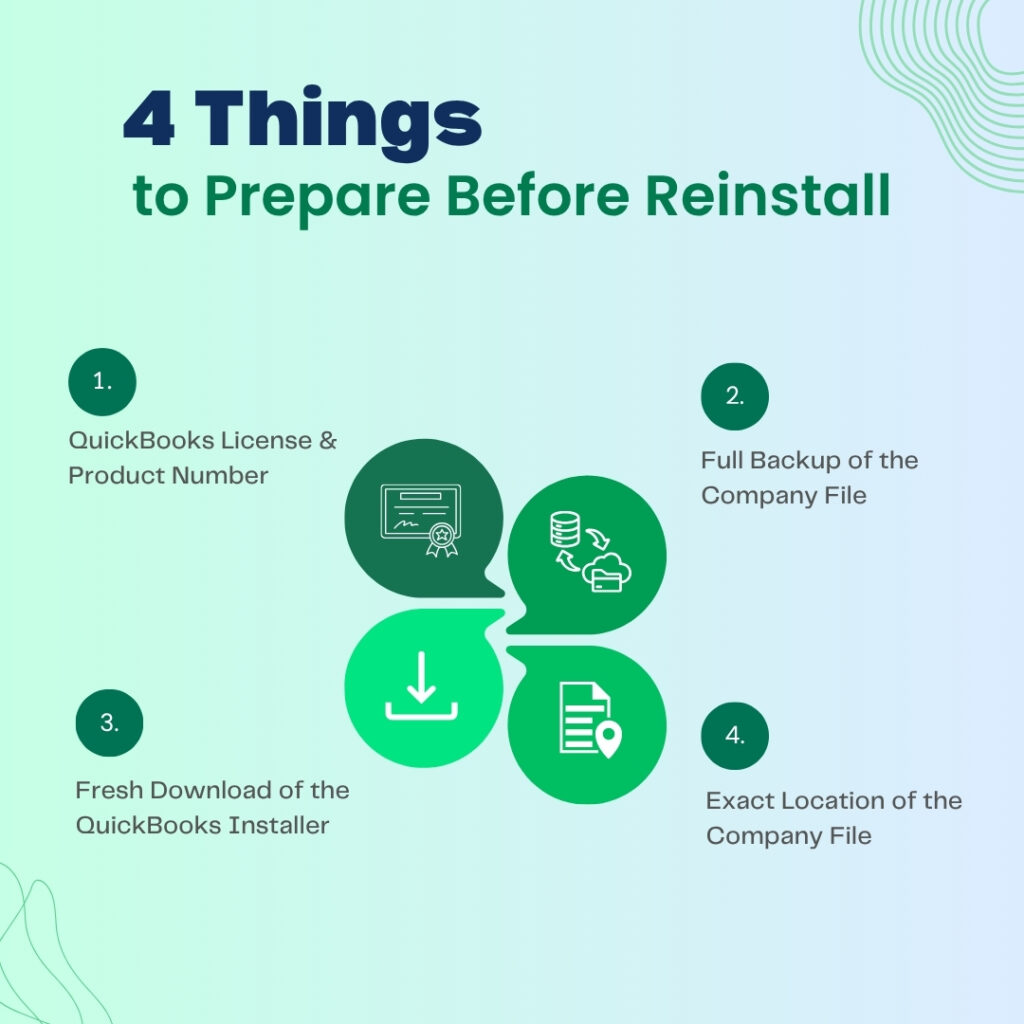
Item 1: The QuickBooks License Number and Product Number
The license number and product number are required to activate QuickBooks after it is reinstalled. QuickBooks will not open past the activation screen without both numbers. The license number is a 16-digit code and the product number is a 6-digit code. These are two separate pieces of information and both are needed. Find them in one of four locations: press F2 (or Ctrl + 1) inside QuickBooks before uninstalling to open the Product Information window, which shows both numbers at the top; check the original purchase confirmation email from Intuit; log in to the Intuit Customer Account Management Portal (CAMPS) at camps.intuit.com and view the Products & Services section; or use the License Look Up Tool on Intuit’s website if the software has already been registered.
A documented Intuit community forum case showed a user who reinstalled QuickBooks and then could not activate because the license was not accepted. Intuit’s investigation found the user was entering the wrong license – one from a different version. Intuit confirmed: “Make sure that you’re using the correct installer to accept your license code.” The license number is version-specific. A QuickBooks 2022 license does not activate QuickBooks 2024. Record the license and product number while the old installation is still working and confirm which version they belong to.
Item 2: A Full Company File Backup
Create a full backup of the company file before uninstalling QuickBooks. The backup is stored as a .QBB file – QuickBooks Backup – which is a complete, compressed copy of the company file that can be restored to any computer running the same or a newer version of QuickBooks. Go to File > Back Up Company > Create Local Backup. Choose Local Backup and click Next. On the Options screen, select Complete Verification to confirm the backup is valid before saving. Save the backup to a location outside the QuickBooks program folder – an external hard drive, a USB drive, or a network folder. Do not save the backup to the same computer’s internal drive without also copying it elsewhere.
Intuit’s official installation guide confirms: “If you are upgrading or moving your books, create a backup of your data before you install.” The IRS also has a relevance here – Intuit’s guide notes: “The IRS requires that 10 years of records be kept, so make sure to keep either your previous accounting system or print-outs of your books.” A backup created immediately before reinstalling ensures a clean restore point that reflects all transactions entered up to the moment the process began.
Item 3: The QuickBooks Installer File
Download a fresh QuickBooks installer from Intuit’s official Downloads & Updates page before uninstalling. The Downloads & Updates page asks for the country, product, and version year. Select the correct combination for the QuickBooks version being reinstalled. Save the downloaded installer file directly to the Desktop so it is easy to find after uninstalling. An installer saved inside nested folders risks producing installation errors from long file paths.
Do not reuse a previously downloaded installer file. An old installer file may be incomplete from an interrupted download, or it may contain an earlier release version that does not include the latest patches. A fresh download from Intuit’s official site guarantees the installer is complete and contains the most current release available for that version. The file size for a QuickBooks Desktop installer is typically 400 to 600 MB – a file significantly smaller than this range was not fully downloaded.
Item 4: The Location of the Company File
Note the exact folder path where the company file is stored before uninstalling QuickBooks, because QuickBooks will ask for this location when the company file is reopened after reinstalling. The company file path shows at the top of the QuickBooks window when the file is open – it reads the full path including drive letter and folder names, such as C:\Users\Business\Documents\QuickBooks 2024\CompanyName.qbw. Write down this full path. The company file is not deleted during reinstall, but knowing exactly where it lives eliminates searching for it afterward.
Two Reinstall Methods: Standard and Clean
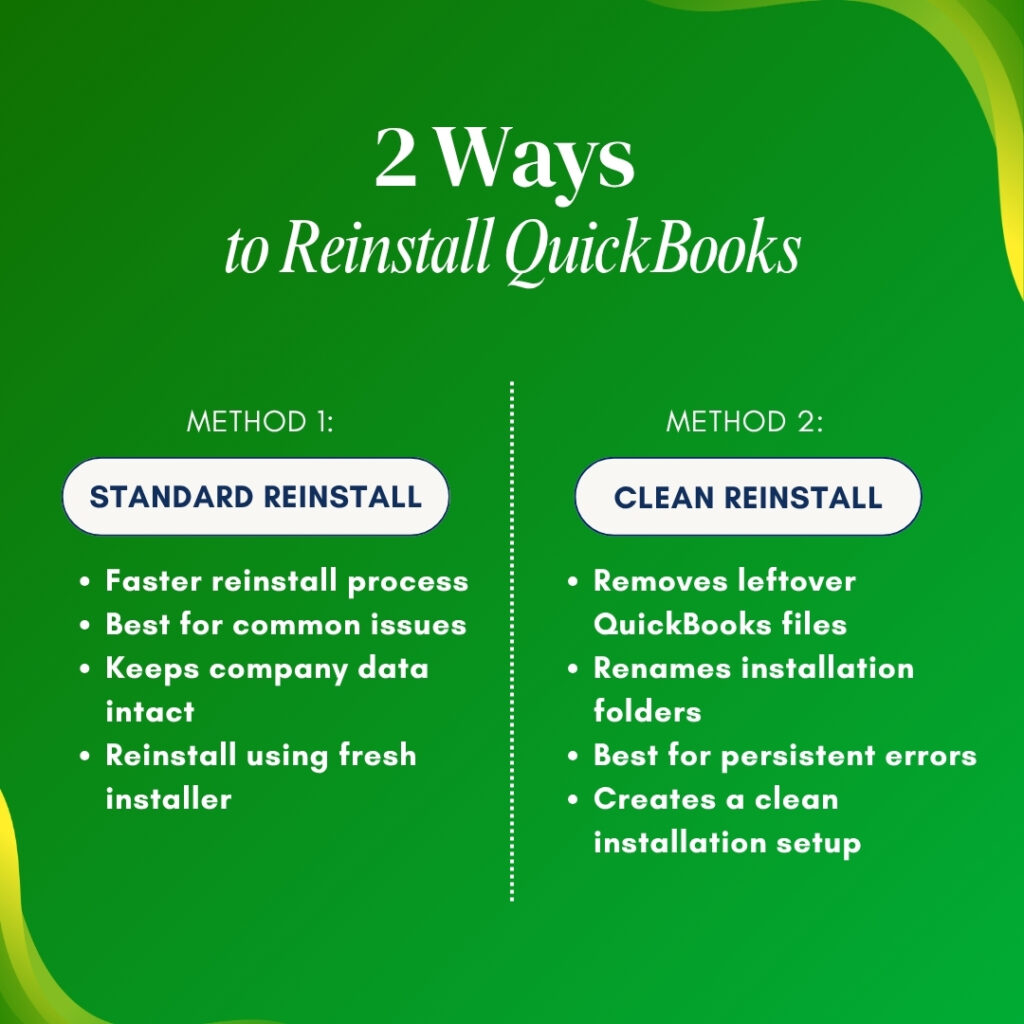
Method 1: Standard Reinstall (Faster – For Most Situations)
A standard reinstall removes the existing QuickBooks installation through the Windows Control Panel and installs a fresh copy from the downloaded installer. Intuit’s documentation describes this as a reinstall that “renames your QuickBooks folders to fix company file issues.” This method is the correct starting point for most reinstall situations – it takes 20 to 40 minutes and resolves program file damage, update failures, activation problems, and most display issues. The company file is untouched throughout.
A standard reinstall is appropriate when: Quick Fix My Program and the Install Diagnostic Tool did not resolve the problem, the same QuickBooks version is being reinstalled (not upgrading to a newer version), the computer is new but has not had a previous failed QuickBooks installation, and the problem is a program-level issue rather than a company file issue.
Method 2: Clean Reinstall (More Thorough – For Persistent Problems)
A clean reinstall removes QuickBooks more completely than the standard uninstall by also renaming the QuickBooks installation folders rather than just removing the program files. Intuit’s clean install documentation lists three steps: uninstall the QuickBooks application, rename the installation folders, and reinstall the QuickBooks application. Renaming the folders prevents the new installation from finding and using any leftover files from the old installation. Intuit confirmed directly on its official reinstall page: when the standard reinstall does not resolve the issue, proceed to the clean reinstall (Solution 2).
A clean reinstall is the correct method when: the standard reinstall did not resolve the problem, the computer previously had a different version of QuickBooks installed, installation errors like 1722 or 1603 persist after the Install Diagnostic Tool, the same error appears in the fresh installation as appeared in the old one, or the installation was interrupted and left files in an inconsistent state.
Standard Reinstall: Step-by-Step
Step 1: Close All QuickBooks Programs and Background Processes
Close every QuickBooks window before starting the uninstall. Press Ctrl + Shift + Esc to open the Task Manager. Click the Processes tab. Look for QBW32.exe (the main QuickBooks program process), QBDBMgrN.exe (the QuickBooks Database Server Manager – the background service that manages multi-user file connections), and QBCFMonitorService.exe (the QuickBooks Connection Monitor). Right-click each one and select End Task. A QuickBooks process that is still running during uninstall prevents the uninstall from completing cleanly and leaves partial files on the computer.
Step 2: Uninstall QuickBooks Through the Windows Control Panel
Press Windows + R, type control panel, and press Enter. Go to Programs > Programs and Features. Find the QuickBooks version to remove in the list. Right-click it and select Uninstall/Change. Click Remove, then Next. Follow the on-screen prompts. When the uninstall completes, do not restart immediately – if proceeding with a standard reinstall, the installer can be run at this point without a restart. If proceeding with a clean reinstall, the folder renaming step comes next.
Intuit’s reinstall documentation includes a specific note: “If you run into issues when you uninstall QuickBooks, there might be something going on with your computer. You should contact an IT professional or Microsoft for help.” An uninstall that produces errors, freezes, or fails to complete indicates a deeper Windows environment problem that requires investigation before reinstallation can succeed.
Step 3: Run the New Installer as Administrator
Right-click the QuickBooks installer file saved to the Desktop. Select Run as administrator. Click Yes when Windows asks for permission. Follow the on-screen prompts. When the installation screen asks which type of installation to use, choose the correct option for the setup: select Express install for a single-computer setup where QuickBooks is used only on this one machine. Select Custom and Network Options for a multi-user setup where the company file is shared over a network. Express install is best if reinstalling on a single computer. Custom and Network is required if the computer also hosts the company file for other users on the network.
According to Intuit’s install documentation: “Express install saves all preferences and installs over your previous version of QuickBooks. This is best if you will use QuickBooks on only one computer.” The Custom and Network option is for “multi-user, multi-computer, or server-based setups.” Choosing the wrong option produces connection and hosting errors in multi-user environments. Confirm which type of setup applies before clicking through this screen.
Step 4: Enter the License and Product Numbers
The installation will pause and ask for the license number and product number during setup. Enter both numbers exactly as they appear in the Product Information window (F2) or the original purchase email. The license number is 16 digits and the product number is 6 digits. Click Next after entering both. QuickBooks will attempt to verify the license with Intuit’s servers. An active internet connection is required for this verification. After verification succeeds, the installation continues and completes automatically.
Step 5: Open the Company File After Installation
Open QuickBooks after installation. The No Company Open window appears because the reinstall cleared the stored company file path. Click Open or Restore an Existing Company. Select Open a Company File. Click Next. Navigate to the folder where the company file is stored – the exact path noted before starting. Select the .QBW file and click Open. QuickBooks will open the company file in the new installation exactly as it was before the reinstall. All data, transactions, and reports are intact because the company file was not touched during the process.
Clean Reinstall: The Additional Folder Renaming Step
Why Renaming Folders Is the Key Difference?
After the standard uninstall, several QuickBooks folders remain on the computer because the Windows uninstall process does not remove shared program folders. These leftover folders include: C:\ProgramData\Intuit\QuickBooks [Year] (which stores QuickBooks configuration files and the payroll data folder), C:\Users[Username]\AppData\Local\Intuit\QuickBooks [Year] (which stores user-specific QuickBooks settings including the QBWUSER.INI file), and the main installation folder at C:\Program Files\Intuit\QuickBooks [Year] if it was not fully removed. Any of these leftover folders can cause the new installation to inherit the same configuration errors that were in the old installation.
Intuit’s official reinstall documentation confirms the folder renaming step directly: “Find and open the folder that holds your QuickBooks company files… Right-click the folder and select Rename. Add the word ‘old’ at the end of the folder name. This prevents QuickBooks from opening it when you reinstall.” Intuit’s community support team further confirmed in a documented Enterprise 2024 reinstall case: “By renaming these directories, you are ensuring that the new installation of QuickBooks will not interfere with the existing data and settings of the old versions. Renaming the directories to ‘old’ indicates that these are the old versions of QuickBooks, so when you reinstall version 24, it will treat it as a new installation rather than an update.”
How to Rename the QuickBooks Installation Folders?
These folders are in hidden Windows locations. Make them visible first: open File Explorer, click View > Show > Hidden Items. This makes the AppData and ProgramData folders visible in their normal locations.
Rename each of the following folders by right-clicking and selecting Rename, then adding “old” to the end of the folder name:
- C:\Program Files\Intuit\QuickBooks [Year] → rename to: QuickBooks [Year]old
- C:\Program Files (x86)\Intuit\QuickBooks [Year] → rename to: QuickBooks [Year]old (if this folder exists)
- C:\ProgramData\Intuit\QuickBooks [Year] → rename to: QuickBooks [Year]old
- C:\Users[Username]\AppData\Local\Intuit\QuickBooks [Year] → rename to: QuickBooks [Year]old
If a folder cannot be renamed because a QuickBooks process is still using it, open Task Manager (Ctrl + Shift + Esc), find any remaining QuickBooks processes, end them, and then try renaming the folder again. Intuit’s documentation confirms: “If you get an access error message when you try to rename the folder, right-click the Windows Task Bar, then select Task Manager. Go to the Processes tab” and end the relevant QuickBooks process.
After all four folder locations have been renamed, run the new QuickBooks installer as administrator and follow the same steps as the standard reinstall. The new installation creates fresh versions of all four folder locations because none of the renamed folders match the names it looks for. This gives the new installation a completely clean environment with no inherited configuration from the previous installation.
How to Restore the Company File After Reinstalling?
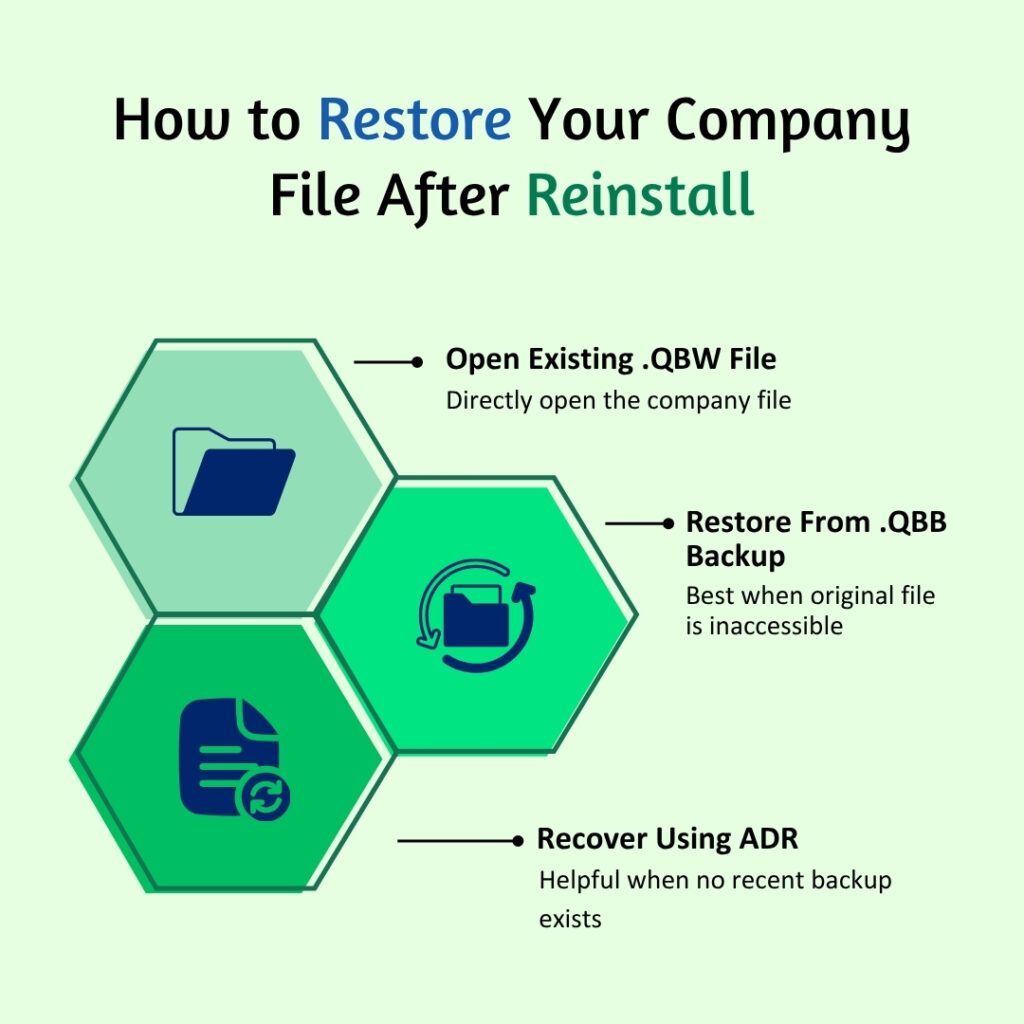
Option 1: Open the Existing Company File Directly
The company file (.QBW file) is intact in its original folder and does not need to be restored – it just needs to be navigated to from the No Company Open window. Click Open or Restore an Existing Company, select Open a Company File, click Next, and navigate to the folder where the .QBW file is saved. Select the file and click Open. QuickBooks will open it directly. This is the fastest and simplest approach and works in the majority of reinstall situations where the company file itself is healthy.
Intuit confirms what files are needed to restore QuickBooks Desktop data after a new installation: “You need primarily your .QBB backup file (or .QBW company file) and potentially associated files like the .TLG (Transaction Log), .ND (Network Data), and custom templates/logos.” The .TLG file – Transaction Log – is a real-time record of every change made to the company file during each session. The .ND file – Network Data file – stores the network configuration for multi-user access. Both are stored in the same folder as the .QBW file and are automatically found by QuickBooks when the .QBW file is opened.
Option 2: Restore the Company File From the .QBB Backup
Restoring from the .QBB backup is the correct approach when the company file was not accessible before the reinstall, or when the company file needs to be moved to a new location as part of the reinstall process. The .QBB file – QuickBooks Backup – is a compressed version of the company file that QuickBooks restores into a working .QBW file on opening.
Open QuickBooks. From the No Company Open window, click Open or Restore an Existing Company. Select Restore a Backup Copy. Click Next. Select Local Backup and browse to the .QBB backup file. Click Open. On the Save Company File As screen, choose a location to save the restored .QBW file. Important: save the restored file under a different name from the original to avoid overwriting any existing file at that location. Click Save. QuickBooks restores the company file from the backup and opens it automatically.
Option 3: Recover Using Auto Data Recovery (ADR) When No Current Backup Exists
A documented case on Intuit’s community forum showed a QuickBooks Premier 2021 user who could not open the old installation to create a backup before reinstalling, and whose last backup was over a year old. The user found two ADR files in the same folder as the company file: a .QBW.ADR file and a .QBW.TLG.ADR file, both with current dates. Intuit’s response confirmed: the .QBW.ADR file and .QBW.TLG.ADR file are Auto Data Recovery (ADR) copies that QuickBooks automatically creates and updates every 12 hours while the program runs.
ADR – Auto Data Recovery – is a QuickBooks feature that keeps a background copy of both the company file and the transaction log file in a hidden folder called QuickBooksAutoDataRecovery, stored in the same location as the company file. These ADR files can recover “all or nearly all” of the data from the last session when no current backup exists. Intuit’s ADR instructions explain the exact recovery sequence using these files, available on Intuit’s official support page by searching for “QuickBooks Auto Data Recovery.”
| Which Files Do What: Reference Guide | |||
| File Name / Extension | What This File Does | Is It Deleted During Reinstall? | Where to Find It |
| .QBW (Company File) | The main database file holding all accounting records, transactions, and reports | No – completely unaffected by reinstall | Wherever the company saved it (Documents, QuickBooks folder, or network drive) |
| .QBB (Backup File) | A compressed backup copy of the company file, created through File > Back Up Company | No – stored in backup location outside the install folder | External drive, USB, or cloud storage where backup was saved |
| .TLG (Transaction Log) | Records every change made to the company file in real time during each session | No – stays in the same folder as the .QBW file | Same folder as the .QBW company file |
| .ND (Network Data) | Stores the network connection settings for multi-user access to the company file | No – stays in the same folder as the .QBW file | Same folder as the .QBW company file |
| .QBW.ADR (ADR Copy) | Auto Data Recovery copy of the company file, updated every 12 hours automatically | No – stored in the QuickBooksAutoDataRecovery hidden folder | QuickBooksAutoDataRecovery folder in the same location as the .QBW file |
| QBWUSER.INI | Stores which company file QuickBooks last opened (startup settings) | Renamed to .old during clean reinstall – QuickBooks creates a new one | C:\Users[Username]\AppData\Local\Intuit\QuickBooks[Year] |
| EntitlementDataStore.ecml | Stores the QuickBooks license verification record for this computer | May be removed during clean reinstall – recreated on first activation | C:\ProgramData\Intuit\Entitlement Client\v8 |
Reinstalling QuickBooks on a New Computer: Key Differences
Moving the Company File to the New Computer
Moving QuickBooks to a new computer requires transferring both the QuickBooks program (reinstalling it on the new machine) and the company file. Intuit’s official documentation confirms two options: the QuickBooks Migrator Tool and manual transfer. The Migrator Tool is accessed from inside QuickBooks under Help > Move QuickBooks to Another Computer. It transfers both the program and the company file in one automated process. The manual approach involves installing QuickBooks fresh on the new computer and copying the .QBW file, the .TLG file, and the .ND file to a folder on the new computer, then opening the .QBW file from the No Company Open window.
Intuit’s own support documentation states: “You can reinstall or move your QuickBooks Desktop software to another computer with the migrator tool. This gives you a safer way to move your files and software settings to a new computer.” The Migrator Tool preserves the QuickBooks company settings, templates, and connection configuration that a manual file copy does not automatically carry over. For businesses that use customized invoice templates, stored report settings, or specific printer configurations, the Migrator Tool is the recommended option.
The Company File Format Does Not Transfer to Older Versions
A critical fact for anyone reinstalling QuickBooks on a new computer with a different version: once a company file is opened in a newer QuickBooks version, it cannot be opened in an older version. Intuit confirmed this directly on its community forum: “After a company file has been upgraded to a newer version, it won’t be able to be downgraded to an older version of QuickBooks.” A company file upgraded to QuickBooks Desktop 2024 format cannot be opened in QuickBooks Desktop 2022 or 2021. The new computer must have the same or a newer QuickBooks version than the one that last opened the company file.
Intuit’s support team also confirmed: “I’d recommend always creating a backup of company files before upgrading them to a newer version. This way, you can still access the file in your older version of QuickBooks.” A backup (.QBB file) created before upgrading retains the older format and can be opened in the older version. A backup created after upgrading is in the new format and can only be restored in the same or newer version.
Post-Reinstall Checklist: Confirm Everything Is Working
Use this checklist after the reinstall and company file opening to confirm the reinstall was successful and QuickBooks is fully operational.
| Check | How to Verify It | What to Do If It Fails |
| Company file opens without error | Go to File > Open or Restore Company, navigate to the .QBW file, and open it | Run Verify Data (File > Utilities > Verify Data); if damaged, run Rebuild Data |
| QuickBooks version and release number match what was installed | Press F2 or Ctrl + 1 to open Product Information window; confirm version and release | Update QuickBooks: Help > Update QuickBooks Desktop > Get Updates |
| Payroll subscription is active (if applicable) | Employees > My Payroll Service > Account/Billing Information; confirm active status | Download Entire Payroll Update: Employees > Get Payroll Updates |
| Bank feeds reconnect correctly | Banking > Bank Feeds > Set Up Bank Feed for an Account; re-authenticate the bank connection | Contact the bank if authentication fails; bank connections reset after reinstall |
| Report output matches pre-reinstall reports | Run a Balance Sheet and Profit and Loss for a known period; compare totals to saved pre-reinstall printouts | If totals differ, run Verify Data immediately to check for company file damage |
| Multi-user access works for all workstations (if applicable) | Have each workstation open the company file; confirm all connect without H-series errors | Run QuickBooks Database Server Manager scan: Tool Hub > Network Issues |
| Custom invoice templates still appear correctly | Create > Invoices; check the Template dropdown for all custom templates | Re-import custom templates from the Template folder if they were stored separately |
| Antivirus exclusions are configured | Open antivirus settings and confirm QuickBooks folders are in the exclusion list | Add C:\Program Files\Intuit and C:\ProgramData\Intuit to the exclusion list |
Conclusion
Reinstalling QuickBooks Desktop is safe for company data because the company file and the QuickBooks program live in completely separate locations. The program is at C:\Program Files\Intuit\QuickBooks [Year]. The company file is wherever the business saved it – typically in the Documents folder or on a network drive. Reinstalling only touches the program. Intuit’s own documentation confirms this: reinstalling does not affect company data at all. A backup created before reinstalling provides a restore point that protects against any pre-existing damage that the reinstall might not fix, and gives the business a confirmed clean copy of all accounting data.
The standard reinstall – uninstall through Control Panel, then reinstall with a fresh installer downloaded from Intuit – resolves most program-level problems in 20 to 40 minutes. The clean reinstall adds the folder renaming step that removes configuration files left behind by the standard uninstall, which resolves problems that survive the standard approach. For the clean reinstall, Intuit’s community support team confirmed: renaming the QuickBooks folders to “old” forces the new installation to treat itself as a fresh install rather than an update, eliminating all inherited configuration errors.
After reinstalling, the company file opens from File > Open or Restore an Existing Company by navigating to the .QBW file. The company file does not move during reinstall. All transactions, reports, customer records, and vendor data are exactly as they were before the reinstall started. Running Verify Data immediately after the first company file opens confirms the file is in good health and gives a clean starting point for resumed operations.
Frequently Asked Questions
1. QuickBooks cannot be opened to create a backup before reinstalling. Can the reinstall proceed safely?
A reinstall can proceed even without a backup created from inside QuickBooks, but a copy of the company file must be secured first using a different method. Open File Explorer and navigate to the folder where the .QBW company file is stored. Copy the .QBW file, the .TLG file (same name as the .QBW but with .TLG extension), and the .ND file to an external drive or a network folder.
This raw file copy serves as a manual backup. If the ADR feature was running – QuickBooks updates the ADR copies every 12 hours while the program runs – a QuickBooksAutoDataRecovery folder in the company file’s location contains .QBW.ADR and .QBW.TLG.ADR files that can recover all or nearly all recent data. Copy those as well before proceeding with the reinstall.
2. The reinstall completed but QuickBooks asks for activation and the activation screen does not load. What is causing this?
An activation screen that appears but does not fully load is the exact problem documented in a real case on Intuit’s community forum. A QuickBooks Premier 2021 user experienced this immediately after installation. Intuit’s response confirmed: “QuickBooks Desktop 2021 is a discontinued version and no longer supported.” Activation screens that fail to load for discontinued versions indicate the product cannot contact Intuit’s activation servers because the product’s support period has ended.
QuickBooks Desktop 2021 reached end-of-support on May 31, 2024. For a supported version (2022 R3 and later), an activation screen that fails to load points to either a firewall blocking QuickBooks’ connection to Intuit’s servers, or the EntitlementDataStore.ecml file being in a corrupted state from the reinstall. Adding QuickBooks to the firewall’s allowed list and renaming the EntitlementDataStore.ecml.old resolves the supported-version activation failure.
3. After reinstalling, some custom invoice templates are missing. Are they deleted during reinstall?
Custom invoice templates are stored inside the company file as part of its data – they are not stored in the QuickBooks program folder. A standard reinstall that reopens the same .QBW company file will show all custom templates exactly as they were.
If templates are missing after a reinstall, it indicates either the wrong company file was opened (a backup or an older version of the file), or the template list needs to be refreshed. Go to Lists > Templates inside QuickBooks to see the full template list.
If templates imported from external .DES or .QBT files are missing, those template files must be re-imported from wherever they were saved. Templates created entirely within QuickBooks are always stored inside the company file and are automatically available when the correct company file is opened.
4. The reinstall is being done on a computer that had QuickBooks 2022 and will now have QuickBooks 2024. Will the company file work with the newer version?
A company file from an older QuickBooks version opens in a newer version and gets automatically updated to the new format – this is a one-way conversion. Intuit’s community support confirmed: once a company file is upgraded to a newer version, it cannot be opened in an older version. Before opening the company file in QuickBooks 2024 for the first time, create a backup of the file while it is still in QuickBooks 2022 format.
This pre-upgrade backup remains openable in QuickBooks 2022 and serves as a rollback option. After opening the file in QuickBooks 2024, it will prompt for the file format upgrade. Accept the upgrade and create another backup immediately afterward. These two backups – the pre-upgrade and post-upgrade – cover all scenarios.
5. After a clean reinstall, QuickBooks opens correctly but now asks to re-enter payroll information and the payroll subscription is not recognized. Why?
A clean reinstall that renames the C:\ProgramData\Intuit\QuickBooks [Year] folder also renames the CPS folder – Common Payroll Setup – which is stored inside it. The CPS folder holds the payroll configuration files and downloaded tax table data. Renaming this folder to “old” removes the payroll configuration from the new installation’s view. QuickBooks creates a new, empty CPS folder on reinstall and needs the payroll subscription to be reactivated against it.
Go to Employees > My Payroll Service > Account/Billing Information to confirm the payroll subscription is active. Then go to Employees > Get Payroll Updates > Download Entire Payroll Update to download the full tax table package into the new CPS folder. Perform this payroll update in single-user mode – File > Switch to Single-User Mode – to prevent any multi-user connection from interfering with the download process.
Anusmita is a seasoned content writer who brings perspective to words. As a writer, she enriches her work with a journalistic aptitude, utilising her training in Mass Communication and Journalism. She loves to travel and explore, which imparts a greater sense of understanding, maturity, and experience that are reflected in her content.
Beyond her professional work, Anusmita enjoys painting, singing, dancing, and spending time planting. She is also a self-proclaimed foodie who loves exploring different cuisines, an interest that further adds to her curiosity and perspective as a writer.
Leave a Reply