QuickBooks Desktop does not have an undo button for deleted transactions. Once a transaction is deleted, it is permanently removed from the active company file – the file that holds every invoice, payment, check, journal entry, and bank deposit for the business. The company file itself (saved with a .QBW extension) does not move deleted entries to a recycle bin or hidden folder. The transaction is gone from the live file the moment the delete is confirmed.
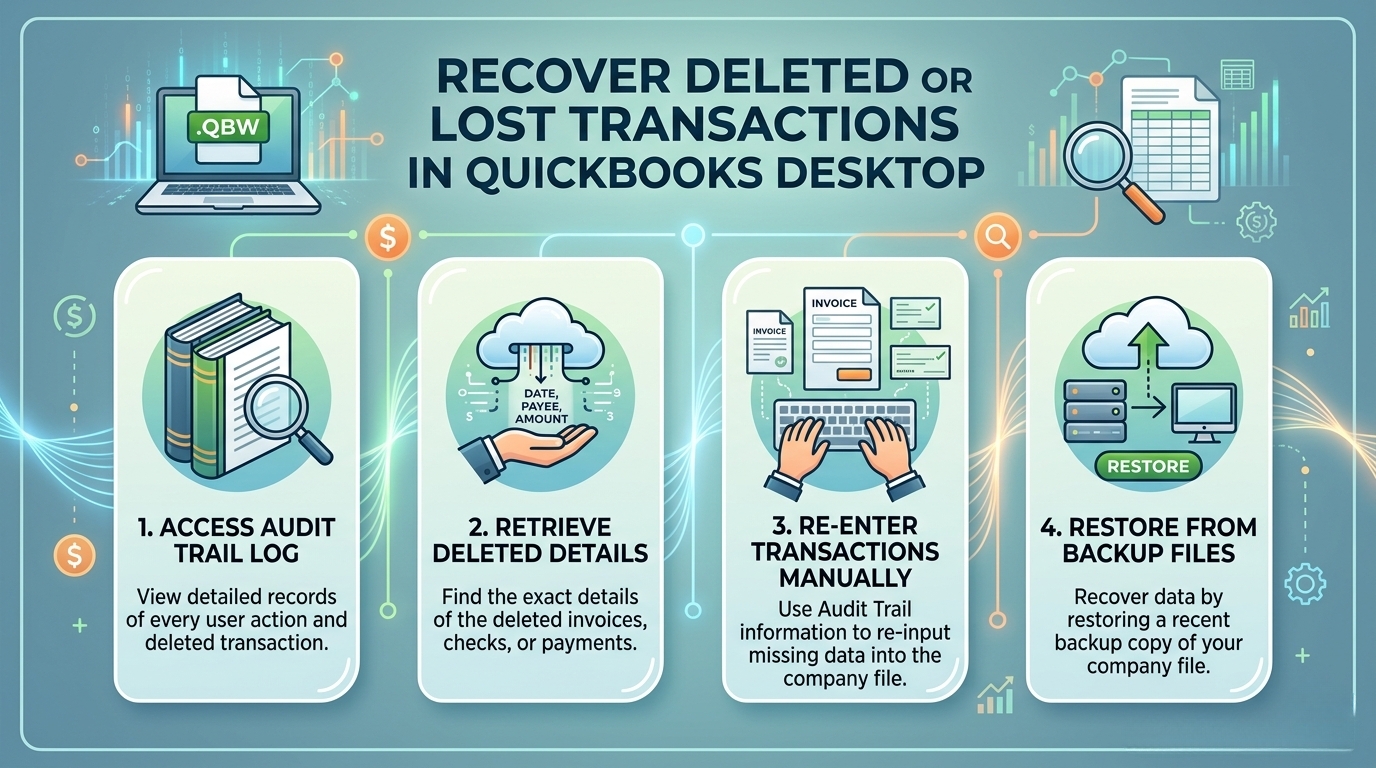
The good news is that QuickBooks records every action taken inside the company file, including every deletion, in a built-in log called the Audit Trail. This log stores the full details of every deleted transaction – the date, amount, accounts affected, payee name, and the user who performed the deletion. Intuit’s own support community confirmed this directly: the Audit Trail and backup files are the two documented paths to recover deleted transactions in QuickBooks Desktop.
This article covers every documented recovery method in the correct order, from the fastest to the most thorough. The methods apply to QuickBooks Desktop Pro, Premier, and Enterprise on Windows. The company file and all records inside it stay readable throughout the recovery process – no recovery method in this article deletes or overwrites the current company file unless the instructions specifically state so, and those steps include a clear warning before they begin.
Table of Contents
What “Deleted” and “Voided” Mean in QuickBooks – and Why Does It Matters?
Deleted Transactions: Permanently Removed from the Active File
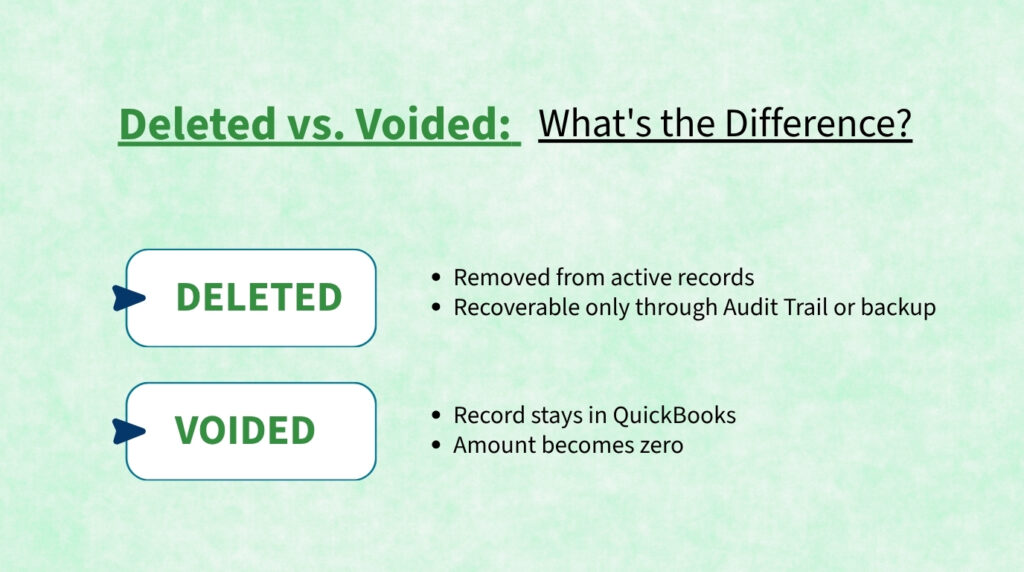
Deleting a transaction in QuickBooks Desktop removes it completely from the company file. The transaction no longer appears in any report, register, or account balance. QuickBooks itself states this clearly on its official support page: “After you delete a transaction, you can’t get it back.” This applies to all transaction types – invoices, payments, checks, bills, journal entries, and bank deposits. The only way to get the information back is through the Audit Trail log, a backup copy of the company file, or the Auto Data Recovery feature.
A deleted transaction leaves no visible trace inside QuickBooks itself – it does not appear as a zero-amount entry or a greyed-out line in the register. The Audit Trail, however, captures the complete details of the deletion in the background, including every line item that was part of the transaction. This is why running the Audit Trail report is always the correct first step after discovering a missing transaction – it tells precisely what was deleted, when, and by whom, which is the information needed to re-enter it accurately.
Voided Transactions: Record Kept, Amount Set to Zero
Voiding a transaction is different from deleting it. Intuit’s own documentation explains the distinction: “Voiding will change the amounts to 0 but the transaction will still be in the system, just not affecting any accounts.” A voided invoice, payment, or check stays visible in QuickBooks with the word VOID stamped on it and a zero amount. It still appears in reports and registers, but it no longer affects any account balance. This makes voiding a safer choice than deleting when a transaction needs to be removed, because the record is preserved for audit and reconciliation purposes.
Recovering a voided transaction is simpler than recovering a deleted one, because the transaction still exists inside the company file. The Voided/Deleted Transactions Summary report – found under Reports > Accountant & Taxes – shows every voided transaction with its original details. The amount shown is zero (because voiding zeroes it out), but the Audit Trail within that same report shows the original amount before the void was applied. Re-entering the transaction with the correct amount from the Audit Trail restores it to the books.
Why Transactions Go Missing Without Anyone Deliberately Deleting Them?
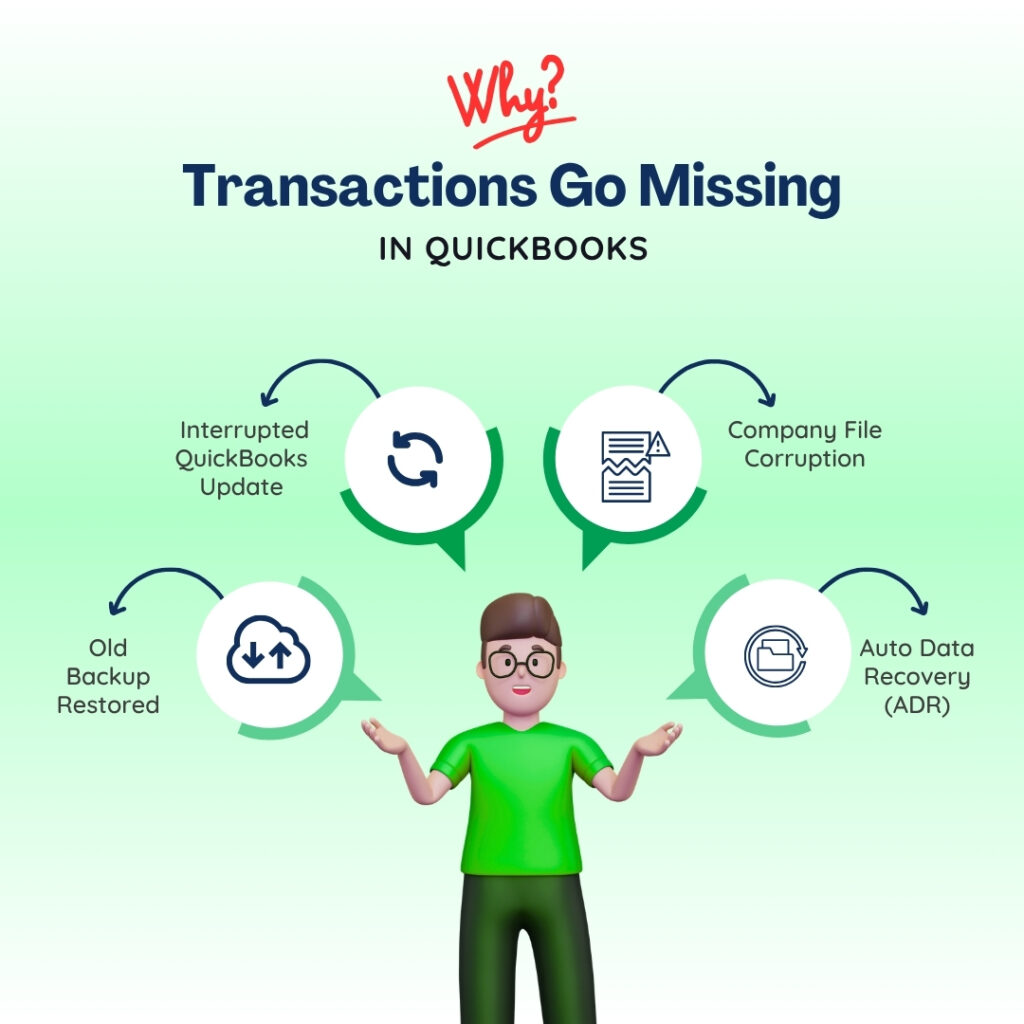
Transactions also disappear without a deliberate deletion. Restoring an older backup overwrites the current company file with the backup’s contents – any transaction entered after the backup was created no longer exists in the restored file. A QuickBooks update that interrupted mid-process can roll the company file back to a checkpoint, removing transactions entered after that checkpoint. A damaged company file, where sections of data become unreadable, can make transactions invisible even though they were never deleted.
QuickBooks’ Auto Data Recovery (ADR) feature addresses data loss from corruption and system failures specifically. ADR runs automatically in the background on supported QuickBooks Desktop versions and creates a recovery copy of the company file approximately every 12 hours. This recovery copy, stored in a folder called QuickBooksAutoDataRecovery on the same computer, can be used to restore transactions from up to 12 hours before the data loss occurred. The ADR is separate from a manual backup and exists as a safety net for exactly these non-deliberate data loss situations.
Quick Diagnosis: Match the Situation to the Correct Recovery Method
Identify the description that best matches what happened before choosing a recovery method. Starting at the right method saves time and avoids unnecessary steps.
| What Happened | Most Likely Cause | Start Here |
| A transaction is missing but no one deliberately deleted it | QuickBooks data was recovered from a backup that pre-dates the transaction, or ADR restored a snapshot that did not include it | Method 1: Search the Audit Trail Report first to confirm whether the transaction was entered and deleted |
| An employee or bookkeeper accidentally deleted a transaction | The delete action was completed and QuickBooks has no undo button for deletions | Method 1: Audit Trail Report – it records every deletion including the user who performed it |
| A transaction disappeared after a QuickBooks update or Windows update | The update process interrupted or rolled back the company file to an earlier state | Method 3: QuickBooks Auto Data Recovery (ADR) using the .QBW.adr and .TLG files |
| Several transactions vanished at the same time with no explanation | Company file was restored from an older backup, overwriting newer data | Method 2: Restore a backup from before the data was lost, extract the details, re-enter in the current file |
| A transaction was voided instead of deleted and needs to be re-activated | Voiding sets the amount to zero but keeps the transaction record in the file | Locate the voided transaction in the Voided/Deleted Transactions Summary report and re-enter it with the correct amount |
| A bank feed transaction was added to the register and then deleted | Bank feeds re-download deleted transactions on the next sync, so the transaction may reappear | Check the bank feed For Review tab on the next sync – the transaction may be available to re-add |
| The entire company file is missing or damaged beyond opening | File was deleted from the computer, the hard drive had an error, or the file became corrupted | Method 3: ADR folder (if file is under 1.5 GB) or restore the most recent .QBB backup file |
Recovery Methods: Complete Step-by-Step Instructions
Method 1: Use the Audit Trail Report to Find Deleted Transaction Details
The Audit Trail Report is a log that QuickBooks keeps automatically inside every company file. It records every transaction created, modified, or deleted – including the complete details of the transaction at the time it was deleted. Intuit’s support team confirmed this directly in response to a user who lost a journal entry: the Audit Trail captures the full details of deleted transactions, including date, amount, accounts, and the user who performed the deletion. The recovered details must be re-entered manually, but every number needed to do so accurately is preserved in the Audit Trail.
The Audit Trail is the correct first step for any missing transaction, because it answers three questions before any recovery work begins: Was the transaction ever actually entered? Who deleted it and when? What were the exact amounts and account assignments? These answers determine which recovery method is appropriate and prevent wasted time re-entering a transaction that was never entered in the first place.
Steps: Open QuickBooks Desktop. Click Reports in the top menu bar. Select Accountant & Taxes. Click Audit Trail. In the report filters at the top, set the From and To date range to cover the period when the transaction was entered or deleted. Click Refresh. Scroll through the report and look for the transaction – deleted transactions appear with the word “Deleted” in the State column. Double-click the deleted transaction row to open its full detail view. Write down every detail: date, amount, account(s), payee, memo, and transaction type. Close the Audit Trail and re-enter the transaction manually in the correct QuickBooks module – for example, invoices go through Customers > Create Invoices, and checks go through Banking > Write Checks.
To narrow the Audit Trail to deleted transactions only, click Customize Report at the top of the report and use the Filters tab. Under the Filter list, select State and set it to Deleted. This filters the entire report to show only deleted entries, which is useful when many changes have been made to the company file and the deletion is difficult to locate by scrolling.
Method 2: Restore a Backup Copy of the Company File
A QuickBooks backup file has the extension .QBB and is a complete snapshot of the company file at the moment the backup was created. Restoring a backup brings back every transaction that existed at that moment – including any that were deleted after the backup was made. The critical rule for this method is: never restore the backup directly on top of the current company file. Doing so overwrites all transactions entered since the backup was made. The correct approach is to restore the backup to a separate folder, open it there, find the deleted transaction’s details, and then re-enter those details in the current, live company file.
This method works best when the deleted transaction is older – entered weeks or months ago – and a backup from before the deletion exists. The Audit Trail confirms when the transaction was deleted, which identifies which backup to use: any backup created before that deletion date will still contain the transaction. QuickBooks stores automatic backups locally by default, and many businesses also maintain external or cloud backups. The backup file is the most complete recovery option because it restores the transaction exactly as it was originally entered, including every line item.
Steps: Open QuickBooks Desktop. Go to File > Open or Restore Company. Select Restore a backup copy and click Next. Choose Local backup and click Next. Browse to the location of the backup file (.QBB). Select a backup created before the transaction was deleted.
Critical: In the Save Company File As dialog box, do not save the restored file in the same folder as the current company file. Create a new folder on the Desktop – for example, a folder named “Recovery” – and save the restored file there. Open the restored company file from that Recovery folder. Use the account register or run a report to locate the deleted transaction and write down all its details. Close the restored company file. Open the current, live company file and re-enter the transaction using the details recorded from the backup.
Method 3: Use QuickBooks Auto Data Recovery (ADR) When No Backup Exists
Auto Data Recovery (ADR) is a built-in QuickBooks feature that automatically creates a recovery copy of the company file in a folder called QuickBooksAutoDataRecovery, stored in the same location as the company file. ADR runs approximately every 12 hours while QuickBooks is open. It produces two files: a copy of the company file (saved as .QBW.adr) and a copy of the transaction log (saved as .TLG.adr). These two files together can restore transactions lost to data corruption or system failure – recovering all transactions except those entered in the last 12 hours before the data loss.
ADR has three documented limitations that apply before starting this method. First: ADR is only available in QuickBooks Pro, Premier, and Enterprise for Windows – it is not available in QuickBooks Accountant Editions. Second: ADR does not generate recovery files if the company file exceeds 1.5 gigabytes in size. A gigabyte is a unit of file size – for context, most small-business QuickBooks files are well under 1.5 GB, but businesses with many years of detailed transaction history may exceed this limit. Third: ADR must be used only after all other recovery options have been tried, as Intuit specifically recommends this order.
Steps – Method A (recovers recent transactions using the original .TLG file and the .QBW.adr file): Create a new folder on the Desktop and name it QBTest.
- Open the folder where the company file is saved (the default location is C:\Users\Public\Documents\Intuit\QuickBooks\Company Files).
- Inside that folder, find and open the QuickBooksAutoDataRecovery folder.
3. Copy the file ending in .QBW.adr and paste it into the QBTest folder on the Desktop.
- Go back to the company file’s main folder (not the AutoDataRecovery subfolder) and copy the file ending in .TLG (the transaction log with the same name as the company file).
- Paste the .TLG file into the QBTest folder. The QBTest folder should now contain both a .QBW.adr file and a .TLG file.
6. Right-click the .QBW.adr file in QBTest and select Rename. Delete the .adr extension at the end so the file ends in .QBW only.
- Open QuickBooks. Go to File > Open or Restore Company > Open a Company File. Browse to the QBTest folder and open the renamed .QBW file.
8. Open the account register and run reports to verify that all transactions are present. Go to File > Utilities > Verify Data to confirm the recovered file is intact.
- If the recovered file is good, move the damaged company file to a different location and copy the recovered QBTest file to the original company file folder.
If this method does not recover all the needed transactions, use Method B: copy both the .QBW.adr and .TLG.adr files from the QuickBooksAutoDataRecovery folder into QBTest, rename both by removing the .adr extension, and open the .QBW file from QBTest. This recovers all transactions except the last 12 hours before the data loss, because both the company file copy and the transaction log are from the ADR snapshots.
Method 4: Use the Voided/Deleted Transactions Summary Report
The Voided/Deleted Transactions Summary report is a dedicated QuickBooks report that lists every transaction that has been voided or deleted within a selected date range. It is separate from the full Audit Trail and faster to read because it focuses only on removed entries. This report is the correct starting point when a transaction was voided – not deleted – because voided transactions still exist in the company file and can be located and re-entered without needing a backup or ADR.
Steps: Click Reports in the top menu bar. Select Accountant & Taxes. Click Voided/Deleted Transactions Summary. Set the date range to cover the period in question and click Refresh. The report lists every voided and deleted transaction in that range, showing transaction type, date, account, and amount. For a voided transaction, the amount shows as zero – but double-clicking the row opens the Audit Trail entry for that transaction, which shows the original amount before voiding. Record all details from the Audit Trail entry. Navigate to the appropriate module in QuickBooks and re-enter the transaction using those details.
Method 5: Recover a Deleted Bank Feed Transaction Through the Next Bank Sync
Bank feed transactions are downloaded directly from the bank into QuickBooks. When a bank feed transaction is deleted from the QuickBooks register, QuickBooks recognizes that the transaction is no longer accounted for in the books. On the next automatic bank update or manual sync, the bank sends the same transaction again and it reappears in the bank feed’s For Review tab – the list of new downloaded transactions waiting to be matched or categorized. Intuit’s own support community confirmed this: deleting a downloaded bank transaction causes the system to recognize the transaction as unaccounted for, and it will re-download on the next update.
Steps: Open QuickBooks Desktop. Go to Banking in the top menu bar and select Bank Feeds > Bank Feeds Center. Select the relevant bank account. Click Download Transactions to pull the latest data from the bank. After the download completes, check the Items Reviewed or For Review tab for the deleted transaction. Match or add it back to the register as normal. Note: this method only works for transactions that originated from a bank feed – it does not apply to manually entered transactions such as invoices, journal entries, or checks created directly in QuickBooks.
Method 6: Re-Enter the Transaction from External Records
External records are documents that exist outside QuickBooks and confirm the details of a transaction: bank statements, paper or emailed invoices, customer receipts, vendor bills, payroll records, and credit card statements. Every transaction that passed through the business’s bank account appears on the bank statement with its date, amount, and payee – enough information to re-enter it accurately in QuickBooks even without any digital recovery path. This method applies when the Audit Trail does not contain the transaction, no usable backup exists, and ADR is not available.
Re-entering from external records takes more time than the other methods but produces an accurate result because the bank statement is a legally reliable record of every transaction that cleared the account. The bank statement also confirms which transactions are genuinely missing from QuickBooks versus which ones were simply never entered in the first place – a distinction that determines whether a re-entry is needed or whether the transaction was legitimately removed.
Steps: Gather the bank statement, credit card statement, or paper invoices for the period when the transaction is missing. Identify every missing transaction by comparing the bank statement against the QuickBooks account register – go to Lists > Chart of Accounts, double-click the relevant bank account, and scroll through the register to find the gap. For each missing transaction, note the date, amount, payee, and transaction type. Re-enter each transaction in the correct QuickBooks module: invoices in Customers > Create Invoices, bills in Vendors > Enter Bills, deposits in Banking > Make Deposits, and checks in Banking > Write Checks. After re-entering, run a bank reconciliation through Banking > Reconcile to confirm the QuickBooks register now matches the bank statement.
All QuickBooks Recovery Methods at a Glance
| Method | What It Recovers | Time |
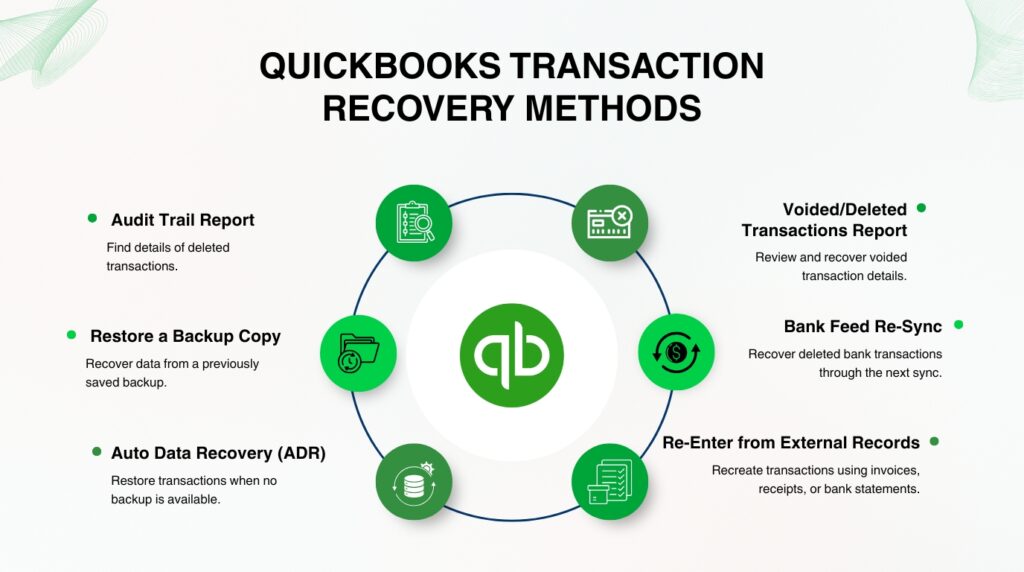
| Method 1: Audit Trail Report | Find exactly what was deleted, by whom, and when – then re-enter it manually | 15–30 min |
| Method 2: Restore a backup (.QBB file) | Recover full transaction details from a backup copy of the company file | 20–40 min |
| Method 3: Auto Data Recovery (ADR) | Recover recently lost data when no manual backup exists and the company file is under 1.5 GB | 20–45 min |
| Method 4: Voided/Deleted Transactions Summary Report | Locate and re-enter transactions that were voided (not deleted) – amount was zeroed but record remains | 10–20 min |
| Method 5: Bank feed re-sync | Recover a deleted bank feed transaction by letting QuickBooks re-download it on the next bank sync | 5 min |
| Method 6: Re-enter from external records | Use bank statements, invoices, or receipts to recreate a transaction when no digital recovery path exists | 30–60 min |
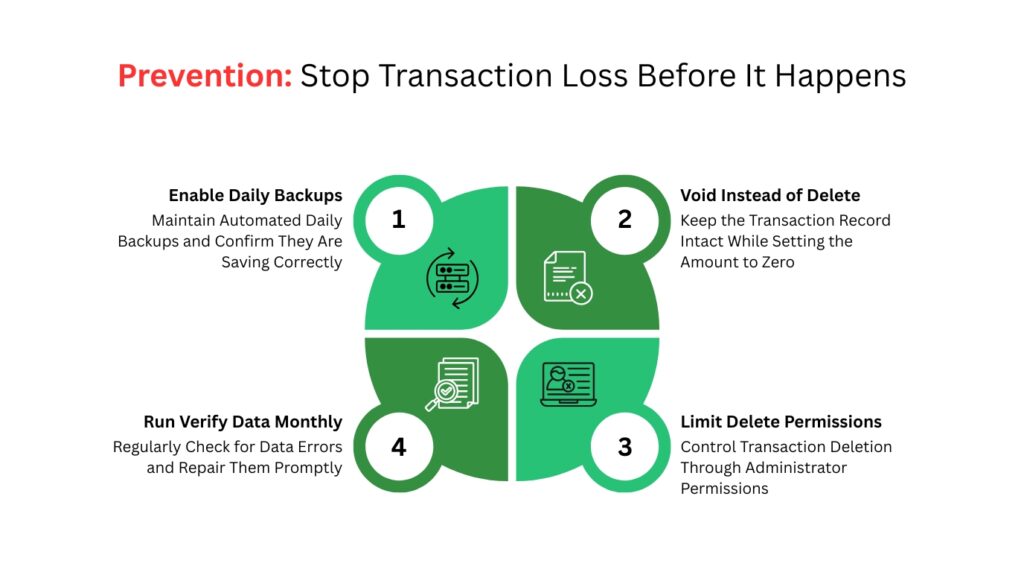
QuickBooks Prevention: Stop Transaction Loss Before It Happens
- Schedule Automatic Daily Backups and Confirm They Are Saving
A backup is a complete copy of the company file saved at a specific point in time. QuickBooks Desktop can create this backup automatically on a schedule set by the user. Go to File > Back Up Company > Set Up Automatic Backup. Set the frequency to daily and choose a backup location on an external drive or a cloud storage folder separate from the computer that runs QuickBooks. A backup saved on the same hard drive as the company file does not protect against hardware failure – if the drive fails, both the company file and the backup are lost together.
Confirming that backups are actually saving is as important as scheduling them. Open the backup destination folder once a week and check that a new .QBB file was created on the expected date. A backup schedule that fails silently – for example, because the external drive was unplugged or the cloud storage ran out of space – gives false confidence. Intuit recommends keeping at least three backup copies at different points in time, so that if one backup itself is damaged, an earlier one is available.
- Use Voiding Instead of Deleting When Removing Transactions
Voiding a transaction removes its effect on account balances while keeping the transaction record in the company file permanently. Deleting removes the transaction entirely, leaving only the Audit Trail entry as evidence it ever existed. For any transaction that was once real – a payment received, a bill paid, a check written – voiding is the correct action because it maintains a complete, auditable record of what happened and why the transaction was removed. Intuit’s own documentation states this preference directly: “For recordkeeping, voiding is better than deleting.”
The practical difference for recovery is significant. A voided transaction can be found instantly in the Voided/Deleted Transactions Summary report and re-entered in minutes using the details still stored in the file. A deleted transaction requires the Audit Trail, a backup, or ADR – all of which take more time and, in the case of ADR, may not be available if the company file exceeds 1.5 GB. Training every QuickBooks user to use Edit > Void instead of Edit > Delete prevents this recovery complexity entirely.
- Restrict Delete Permissions to Administrators Only
QuickBooks Desktop allows the company administrator to set user permissions that control what each user account can and cannot do. Under Company > Set Up Users and Passwords > Set Up Users, each user’s role can be configured to allow or deny the ability to delete transactions. Restricting deletion to the administrator account only means that accidental deletions by employees cannot happen – anyone who needs to remove a transaction must go through the administrator, who can confirm the action is intentional and correct before proceeding.
The Audit Trail records the username of every person who deletes a transaction, so if a deletion does occur, the administrator can immediately identify who performed it and when. Reviewing the Audit Trail monthly – through Reports > Accountant & Taxes > Audit Trail, filtered to show deleted and modified transactions – catches unauthorized or accidental deletions quickly, before the deleted transaction is needed for a reconciliation or tax filing and its absence becomes a critical problem.
- Run the Verify Data Tool Monthly to Catch File Damage Before It Causes Loss
The Verify Data tool checks the QuickBooks company file for internal errors – damaged data blocks, broken links between transactions, and inconsistencies in account balances that could cause transactions to disappear or become unreadable. Access it through File > Utilities > Verify Data. Run it monthly and after any QuickBooks update or Windows update. Verify Data reports “Your data has lost integrity” if it finds a problem – this message means Rebuild Data must be run immediately through File > Utilities > Rebuild Data before the damage spreads to more transactions.
Conclusion
QuickBooks Desktop removes deleted transactions permanently from the active company file, but the Audit Trail captures and preserves the full details of every deletion – the date, amount, accounts, payee, and the user who performed it. Intuit’s own support team confirmed that the Audit Trail and backup files are the two primary documented paths to recover deleted transactions in QuickBooks Desktop. The Audit Trail is always the correct first step because it identifies exactly what was deleted, which determines which recovery method to use next.
For recently lost data with no available backup, the Auto Data Recovery (ADR) feature provides a recovery copy of the company file updated approximately every 12 hours. ADR is available in QuickBooks Pro, Premier, and Enterprise for Windows, and works for company files under 1.5 gigabytes. For voided transactions – entries that still exist in the file with a zero amount – the Voided/Deleted Transactions Summary report locates them instantly without requiring any backup or ADR process. For bank feed transactions deleted from the register, the next bank sync re-downloads the same transaction and makes it available to add back.
The most effective long-term protection against transaction loss is daily automated backups saved to a location separate from the computer running QuickBooks, combined with a policy of voiding transactions instead of deleting them. These two practices together ensure that any lost transaction can be recovered in minutes from either a backup copy or from the transaction’s own record still stored in the company file. Restricting delete permissions to administrator accounts prevents accidental deletions by other users entirely, which eliminates the most common cause of transaction loss in multi-user QuickBooks environments.
Frequently Asked Questions
1. The Audit Trail does not show the deleted transaction at all. Does this mean it was never entered in QuickBooks?
A transaction absent from the Audit Trail was almost certainly never entered in QuickBooks in the first place. The Audit Trail records every action taken inside the company file from the moment QuickBooks was installed, and it cannot be disabled by regular users – only the QuickBooks administrator can turn it off, and doing so is not a default setting.
If a transaction is not in the Audit Trail, the most likely explanation is that it was planned or discussed but never actually saved in QuickBooks. Check external records – bank statements, paper invoices, email receipts – to confirm whether the transaction actually cleared the bank. If it did clear, it needs to be entered in QuickBooks for the first time, not recovered.
2. A backup was restored to recover a deleted transaction, but now several weeks of more recent transactions are missing. How are those recovered?
Restoring a backup overwrites the current company file with the backup’s contents, removing all transactions entered after the backup was created. This is the documented risk of restoring directly to the original company file location. The correct process – restoring the backup to a separate folder, extracting the needed transaction details, and re-entering them in the current file – avoids this outcome entirely.
To recover the overwritten recent transactions, check whether another backup exists from a later date than the one just restored. If so, restore that backup to a different folder (not the main file location), extract the missing transactions’ details, and re-enter them. If no later backup exists, the Audit Trail from before the restore may help identify which transactions were present – though re-entry from external records like bank statements will likely be needed.
3. The QuickBooksAutoDataRecovery folder exists but is empty. Why did ADR not create any recovery files?
ADR does not create recovery files when the company file exceeds 1.5 gigabytes in size. It also does not create files in the QuickBooks Accountant Edition, regardless of file size.
A third reason the folder may be empty: ADR requires QuickBooks Desktop to be open and running for at least one hour after the company file is opened before it performs its first backup of the session.
If QuickBooks was closed before that first hour elapsed, no ADR file was generated for that session. Check the company file size by right-clicking the .QBW file in File Explorer and selecting Properties – the size shown on the General tab confirms whether the 1.5 GB limit is the cause.
4. Can the Audit Trail be used to prove that a specific employee deleted a transaction?
The Audit Trail records the QuickBooks username of every person who creates, modifies, or deletes a transaction. The username shown in the Audit Trail matches the QuickBooks login used at the time of the action.
To view the username column, run the Audit Trail report through Reports > Accountant & Taxes > Audit Trail and look at the Entered/Last Modified By column. This column shows the exact QuickBooks username that performed each action, including every deletion.
This information is useful for internal reviews and for identifying whether a deletion was accidental or deliberate. Note that the username in the Audit Trail reflects the QuickBooks login, not the Windows user account – if multiple employees share a single QuickBooks login, the Audit Trail cannot distinguish between them.
5. Transactions are missing after a QuickBooks update installed overnight. Is this covered by ADR?
ADR can help recover transactions lost during an update if the company file is under 1.5 GB and ADR was enabled before the update ran. The ADR folder stores a recovery copy of the company file from the last time QuickBooks performed an auto-save – typically within 12 hours before the update.
Using the Method 3 steps in this article (copying the .QBW.adr and .TLG files to a QBTest folder, renaming them, and opening them in QuickBooks) restores the file to its state at the time of the last ADR snapshot.
Any transactions entered between that snapshot and the update’s installation will not be in the ADR copy – those need to be re-entered using the Audit Trail or external records. Running Verify Data through File > Utilities > Verify Data after any QuickBooks update confirms the company file integrity before normal work resumes.
Anusmita is a seasoned content writer who brings perspective to words. As a writer, she enriches her work with a journalistic aptitude, utilising her training in Mass Communication and Journalism. She loves to travel and explore, which imparts a greater sense of understanding, maturity, and experience that are reflected in her content.
Beyond her professional work, Anusmita enjoys painting, singing, dancing, and spending time planting. She is also a self-proclaimed foodie who loves exploring different cuisines, an interest that further adds to her curiosity and perspective as a writer.
Leave a Reply