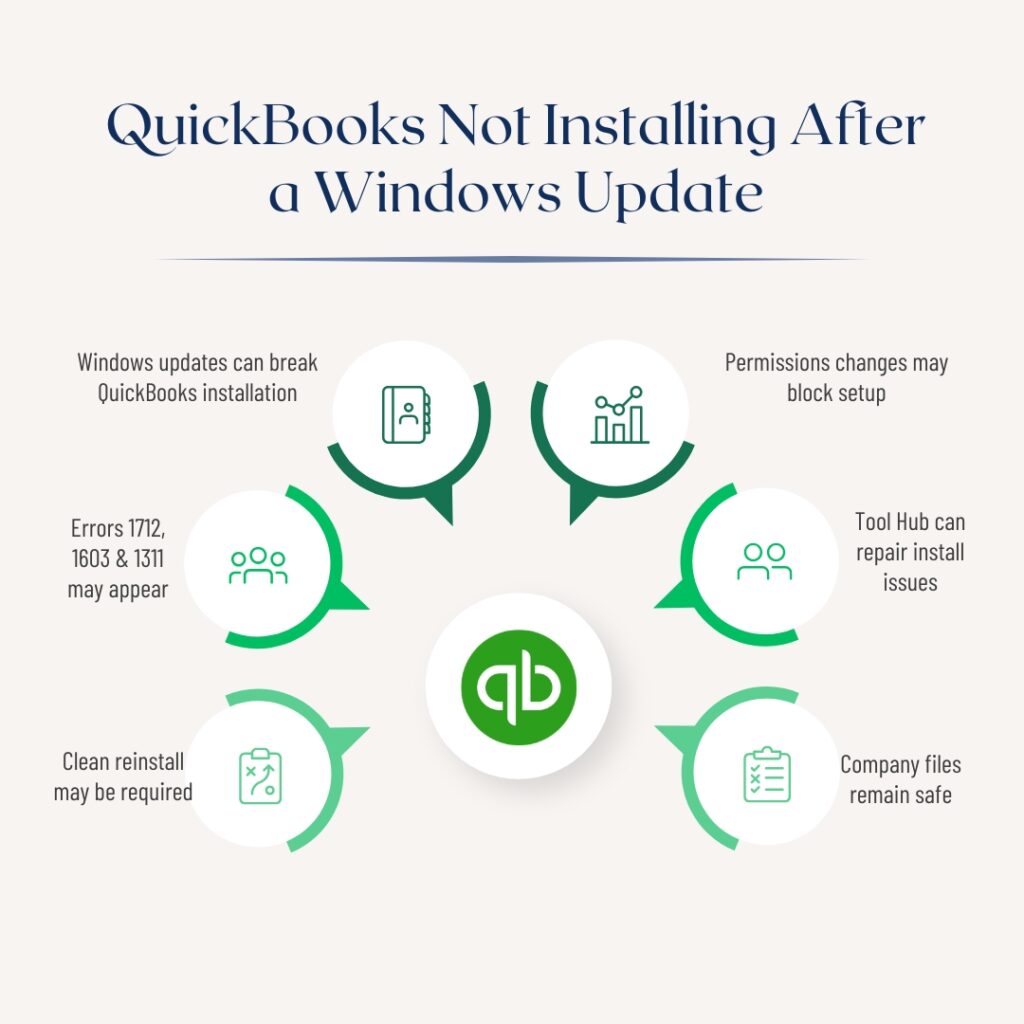
A Windows feature update is a major upgrade to Windows — not a minor security patch, but a full version change like updating from Windows 11 22H2 to Windows 11 24H2. These updates replace thousands of Windows system files and can change how Windows manages shared software components, security permissions, and the Windows Installer service. QuickBooks Desktop stops installing after a Windows feature update because the update changed one or more of the components QuickBooks depends on, reset folder permissions that QuickBooks needs to write files, or updated the Windows Installer service in a way that conflicts with the QuickBooks installer.
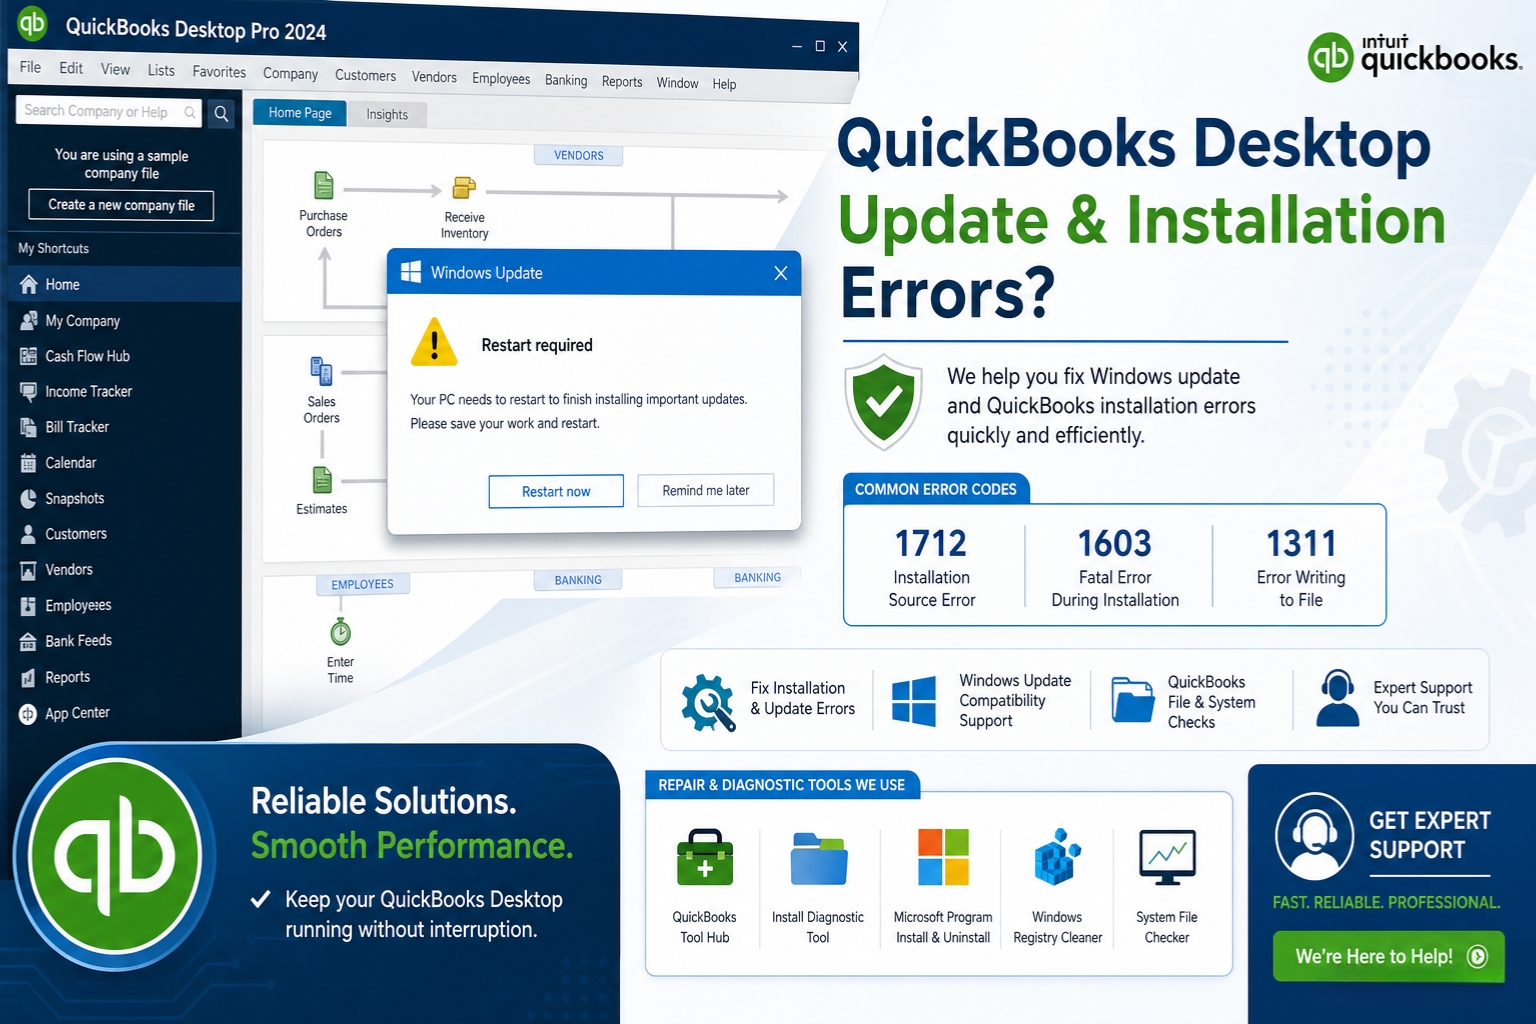
The documented QuickBooks Desktop 2024 R13P case on Intuit’s community forum confirmed the pattern directly: a patch update failed with errors 1712, 1603, and 1311 immediately after a Windows system update. Intuit’s community support team confirmed that these errors indicate problems with QuickBooks Desktop files due to corruption or a compatibility issue caused by the Windows update environment. The solution in that case involved updating the QuickBooks Tool Hub to version 1.6.0.8, running Quick Fix My Program and the Install Diagnostic Tool, and then performing a clean reinstall of QuickBooks.
This article covers every documented cause of QuickBooks Desktop not installing after a Windows feature update, the specific fixes for each cause, and the complete reinstall process for cases where individual fixes are not enough. The company file is not affected by any of the installation issues described here — the .QBW file that holds all accounting data sits in a separate folder and is never touched by the installer. All fixes in this article focus on restoring the QuickBooks program installation without any risk to business data.
Table of Contents
What Windows Feature Update Changes That Affects QuickBooks?
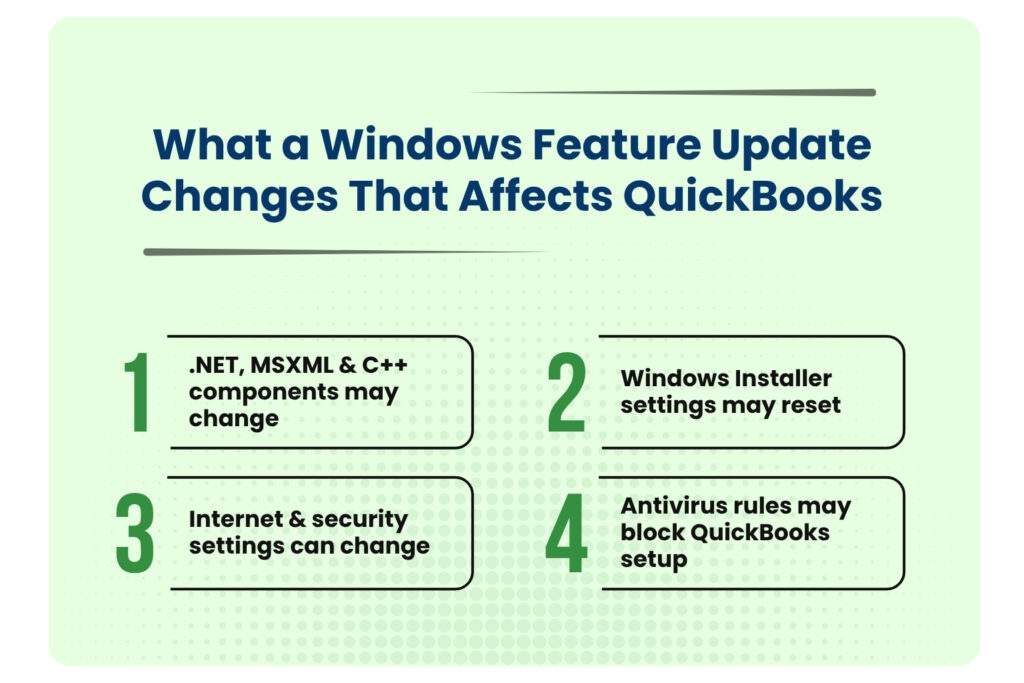
The windows feature update changes that affects QuickBooks are mentioned below in four points. They are:
- Shared Software Components: .NET Framework, MSXML, and Visual C++
- Windows Installer Service Configuration Changes
- Internet Connection and Security Settings Reset
- Security Software Rule Updates Alongside the Windows Feature Update
Shared Software Components: .NET Framework, MSXML, and Visual C++
QuickBooks Desktop depends on three software components that Windows manages: Microsoft .NET Framework (a software layer that QuickBooks uses to run its setup screens and register its program files), MSXML (Microsoft XML Core Services, which QuickBooks uses to read its license and configuration files), and Microsoft Visual C++ Redistributable files (shared program libraries that both QuickBooks and Windows use to run core operations). A Windows feature update replaces or upgrades these components as part of its own update process. The version of each component that Windows installs may not be compatible with the version of QuickBooks currently installed, creating a compatibility gap that blocks the QuickBooks installer.
Intuit confirmed this directly: Windows updates not only bring the latest features to the system but can also repair or replace damaged components such as Microsoft .NET Framework required for applications like QuickBooks to operate. The same Windows update that repairs a damaged component on one computer can replace a working component with an incompatible version on another. After a Windows feature update, running the QuickBooks Install Diagnostic Tool immediately — before attempting to install or update QuickBooks — closes this compatibility gap by reinstalling the correct component versions.
Windows Installer Service Configuration Changes
The Windows Installer service is the Windows background program that manages all software installations, updates, and removals on the computer. A Windows feature update sometimes changes the Windows Installer service’s startup type or permission settings as part of the system reconfiguration process. A Windows Installer service that changes from Automatic startup to Manual, or one that loses its administrator permission level during the feature update, cannot complete QuickBooks installation steps that require full installer service access. The result is an installation that starts normally, progresses through most of the setup steps, and then fails at the registry-writing or file registration step.
Internet Connection and Security Settings Reset
Intuit’s own update error documentation lists incorrect internet connection settings as a cause of QuickBooks installation and update failures. A Windows feature update sometimes resets the Internet Connection Settings that QuickBooks uses to connect to Intuit’s servers for license verification and update downloads. QuickBooks uses Internet Explorer’s network settings — even on computers that use a different browser for daily use — to manage its server connections. A Windows feature update that resets Internet Explorer’s connection settings to defaults can disrupt QuickBooks’ ability to complete an installation that requires license verification.
Security Software Rule Updates Alongside the Windows Feature Update
Windows Defender — the built-in Windows antivirus — is updated as part of every Windows feature update. Third-party antivirus programs also update their rule sets around the same time as major Windows updates. An updated antivirus rule set may classify QuickBooks installer operations as suspicious and block them. The documented R13P update failure case showed that a Windows Defender update was blocking the installer from writing to the system registry, causing the update to fail with multiple simultaneous errors. Running the installation in Selective Startup mode — which disables all security software for the duration of the installation — isolates whether the security software update is the cause.
Quick Diagnosis: Match the Failure to the Correct Fix in QuickBooks Desktop
Identify the specific way the QuickBooks installation failed after the Windows feature update before applying any fix.
| How QuickBooks Installation Failed After the Windows Update | Most Likely Cause | Start With This Fix |
|---|---|---|
| QuickBooks installer shows errors 1712, 1603, and 1311 simultaneously | Multiple component failures triggered by the Windows update changing .NET, MSXML, or installer files | Fix 1: Tool Hub Quick Fix; Fix 2: Install Diagnostic Tool; Fix 6: Reinstall |
| QuickBooks installer opens but stops at ‘Writing System Registry Values’ | Antivirus updated alongside Windows is now blocking registry write operations | Fix 3: Selective Startup installation |
| QuickBooks installer starts and then closes with no error message | Windows Installer service configuration changed by the feature update | Fix 4: Check and restart Windows Installer service |
| QuickBooks update (not fresh install) fails consistently after Windows update | Corrupted QuickBooks component folder damaged by the Windows update process | Fix 5: Rename QuickBooks folders; Fix 2: Install Diagnostic Tool |
| Installation shows ‘Files in Use’ message and cannot proceed | A QuickBooks background service (such as Intuit QuickBooks FCS) is still running | Fix 7: End QuickBooks processes through Task Manager; retry |
| Installation fails with a license verification error after Windows update | Internet connection settings reset by Windows update affecting QuickBooks server communication | Fix 8: Reset Internet Connection Settings |
| QuickBooks installs but will not open after the Windows feature update | Component compatibility gap between Windows update and installed QuickBooks version | Fix 2: Install Diagnostic Tool; Fix 9: Update QuickBooks to latest release |
| Windows 11 feature update installed and QuickBooks 2021 or older no longer works | Older QuickBooks versions are not compatible with newer Windows 11 feature update releases | Upgrade QuickBooks to 2022 R3 or later (required for Windows 11 support) |
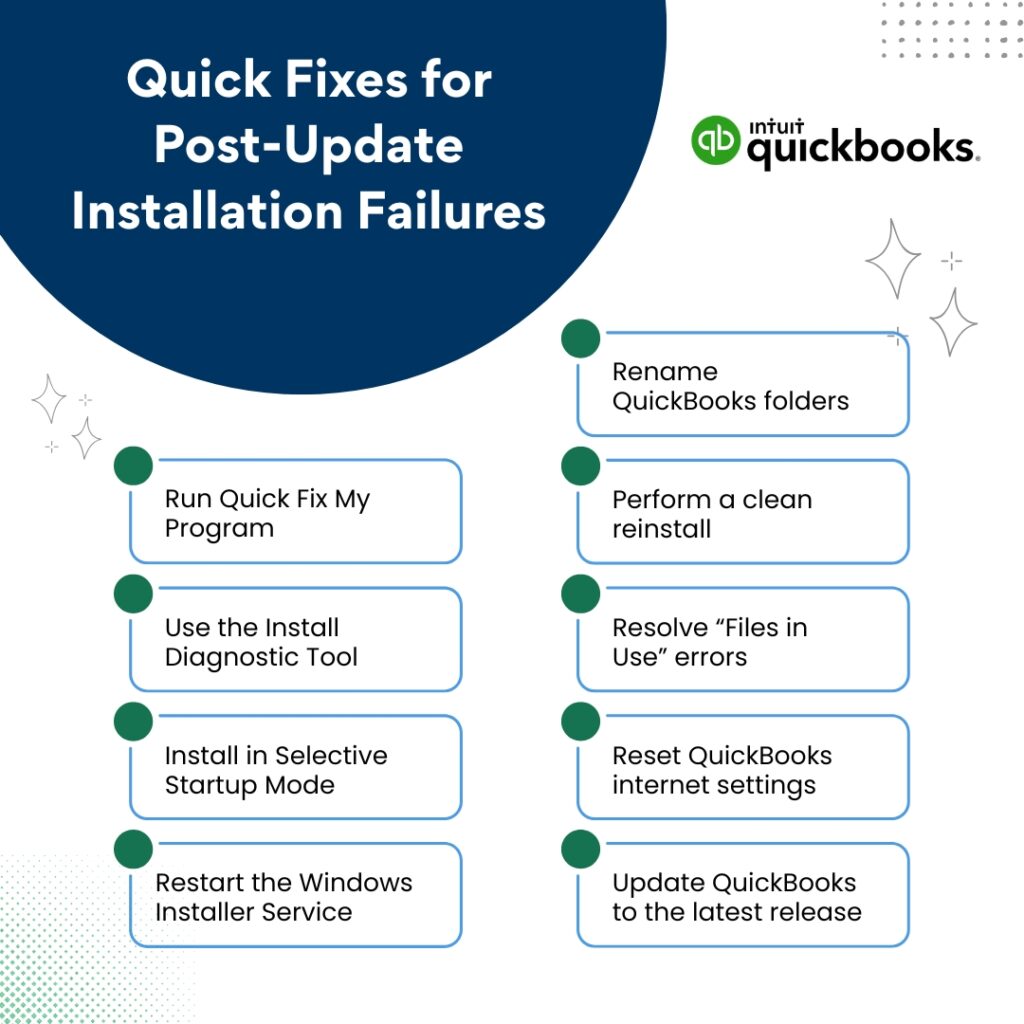
Fix 1: Run Quick Fix My Program From the QuickBooks Tool Hub
What This Tool Does After a Windows Feature Update?
Quick Fix My Program is a tool in the QuickBooks Tool Hub that automatically closes all QuickBooks background processes and runs a basic program repair. After a Windows feature update, leftover QuickBooks processes from the previous Windows environment can still be running in a state that conflicts with the new Windows environment. These leftover processes hold file locks on QuickBooks program files that the installer needs to access and update. Quick Fix My Program finds and ends all of these processes, clearing the path for the installer to run without file lock conflicts.
The R13P update failure case on Intuit’s community forum documented the exact sequence: after the Windows system update produced multiple installation errors, Intuit’s support team directed the user to update the QuickBooks Tool Hub to version 1.6.0.8 first, then run Quick Fix My Program. The user confirmed that after running Quick Fix My Program, the Tool Hub had installed some missing Microsoft tools, though the full fix required a reinstall. Running Quick Fix My Program as the first step eliminates the background process conflict and the missing tool issue simultaneously.
Download the QuickBooks Tool Hub version 1.6.0.8 from Intuit’s official support page. Open it. Click Program Problems in the left menu. Click Quick Fix My Program. Wait approximately five minutes for it to complete. Restart the computer when it finishes. Attempt the QuickBooks installation again.
Fix 2: Run the QuickBooks Install Diagnostic Tool
How This Tool Bridges the Compatibility Gap After a Windows Feature Update?
The QuickBooks Install Diagnostic Tool detects and repairs the three shared Windows components that the QuickBooks installer uses: .NET Framework, MSXML, and Visual C++ Redistributable files. After a Windows feature update changes these components, the Install Diagnostic Tool reinstalls the correct versions that QuickBooks requires — bridging the compatibility gap between the updated Windows environment and the QuickBooks installer. Intuit’s community support team confirmed this tool as a direct fix for the installation errors that appear after Windows system updates.
The Install Diagnostic Tool requires an active internet connection throughout its run because it downloads the correct component versions from Microsoft’s servers. The tool can take up to 20 minutes to complete. Running it immediately after a Windows feature update, before retrying the QuickBooks installation, gives the QuickBooks installer the correct component environment it needs to complete successfully.
Open the QuickBooks Tool Hub. Click Installation Issues in the left menu. Click QuickBooks Install Diagnostic Tool. Allow it to run without interruption — up to 20 minutes. Do not close the tool or shut down the computer while it runs. Restart the computer when it finishes. Retry the QuickBooks installation.
Fix 3: Install QuickBooks in Selective Startup Mode
Why Selective Startup Is Critical After a Windows Feature Update?
A Windows feature update updates Windows Defender and often prompts third-party antivirus programs to update their rule sets at the same time. An updated antivirus rule set may add new detection rules that classify QuickBooks installer operations as potential threats. The documented R13P failure case involved Windows Defender blocking the installer from writing system registry values — which is a specific installer step that updated antivirus rules target because programs writing to the registry is a common behavior of malicious software. Selective Startup mode disables all security software by preventing their services from loading during the Windows startup process.
Press Windows + R, type msconfig, press Enter. Click the General tab. Select Selective Startup. Uncheck Load Startup Items. Click the Services tab. Check Hide All Microsoft Services. Click Disable All. Click Apply > OK. Restart. After the computer restarts, right-click the QuickBooks installer and select Run as administrator. After the installation completes, open msconfig again, select Normal Startup, click Apply > OK, and restart the computer.
Fix 4: Check and Restart the Windows Installer Service
Why Does the Windows Installer Service Need Verification After a Feature Update?
The Windows Installer service is the Windows background program that handles all software installation, update, and removal processes on the computer. Every step of the QuickBooks installation process goes through this service. A Windows feature update sometimes changes the Windows Installer service’s startup type from Automatic (meaning it starts on its own when Windows starts) to Manual (meaning it only starts when specifically requested). A Windows Installer service running in Manual mode that has not been started before the QuickBooks installation begins produces installation failures where the installer appears to start but stops without completing any steps.
Press Windows + R, type services.msc, press Enter. The Windows Services panel opens. Scroll down to find Windows Installer in the list. Right-click it and select Properties. In the Properties window, check the Startup Type field. If it shows Manual or Disabled, change it to Manual and click Start under Service Status if the status shows Stopped. Click Apply > OK. Close the Services panel. Retry the QuickBooks installation.
Fix 5: Rename the QuickBooks Installation Folders
Why Can the Windows Feature Update Corrupt QuickBooks Folders?
A Windows feature update modifies thousands of files on the computer during its installation process, including files in the ProgramData and Program Files directories. The QuickBooks installation folders at C:\ProgramData\Intuit\QuickBooks and C:\Program Files\Intuit\QuickBooks store QuickBooks configuration files, shared program data, and update tracking information. A Windows feature update that modifies or resets file permissions on these folders can leave the QuickBooks installation in a corrupted state where subsequent QuickBooks updates or installations fail because the existing folder data conflicts with the new installer.
Renaming these folders forces QuickBooks to create new, clean versions of them during the next installation or update. The corrupted folder data is preserved with the .old suffix in case it needs to be referenced, but QuickBooks uses the new clean folders instead. This fix is effective specifically for QuickBooks update failures (not fresh installations) that began after a Windows feature update and that show errors during the component folder update step.
Open File Explorer. Click View > Show > Hidden Items to show hidden folders. Navigate to each of these paths and rename the QuickBooks folder by right-clicking and selecting Rename, adding OLD to the end of the name:
- C:\ProgramData\Intuit\QuickBooks [Year] → QuickBooks [Year]OLD
- C:\Program Files (x86)\Intuit\QuickBooks [Year] → QuickBooks [Year]OLD
- C:\Users\[Username]\AppData\Local\Intuit\QuickBooks [Year] → QuickBooks [Year]OLD
Restart the computer. Open QuickBooks to trigger the recreation of clean folders. Test whether the update or installation completes.
Fix 6: Perform a Full Clean Reinstall of QuickBooks
When Individual Fixes Are Not Enough After a Major Windows Update?
The R13P update failure case confirmed by Intuit’s community team shows the full resolution path for a QuickBooks installation that fails with multiple simultaneous errors after a Windows update: update the Tool Hub, run Quick Fix My Program, run the Install Diagnostic Tool, and if those steps do not resolve it, perform a clean reinstall. A clean reinstall removes all QuickBooks files and registry entries using the QuickBooks Clean Install Tool, then installs a fresh copy from a download directly from Intuit’s official Downloads & Updates page. A documented real-world case guided a user through exactly this process in May 2025 after a Windows update broke QuickBooks Pro Plus 2024.
The documented guidance from that case was specific: after the Clean Install Tool finishes, do not reuse any previously downloaded installer file. Download a fresh installer directly from Intuit. This ensures the installer is complete and compatible with the current Windows environment. The user in that case also confirmed that a backup of the company file (approximately 104 MB, saved to the Downloads folder, modified May 23, 2025) was intact and accessible even after QuickBooks stopped working — confirming the company file is never affected by installation failures.
Record the QuickBooks license number and product key (Help > About QuickBooks or the original purchase email). Create a company file backup if QuickBooks can still open: File > Back Up Company > Create Local Backup. Download the QuickBooks Clean Install Tool from Intuit’s official support page. Open Control Panel > Programs > Programs and Features. Right-click QuickBooks and select Uninstall. After the uninstall completes, run the Clean Install Tool to remove residual files and registry entries. Restart the computer. Download a fresh installer from Intuit’s official Downloads & Updates page. In Selective Startup mode (Fix 3 steps), right-click the installer and select Run as administrator. Follow the installation prompts.
Fix 7: Resolve the ‘Files in Use’ Block
Why QuickBooks Services Block the Installer?
The “Files in Use” message during QuickBooks installation lists programs that are currently using files the installer needs to update. The documented “Files in Use” message from a real reinstall case specifically showed “Intuit QuickBooks FCS” as the program holding files in use. Intuit QuickBooks FCS is the QuickBooks File Copy Service — a background Windows service that QuickBooks uses to copy company files during backup and restore operations. This service starts automatically with Windows and continues running even when QuickBooks itself is closed. The service holds QuickBooks program files open, which blocks the installer from writing updated versions of those files.
The installer offers two options when this message appears: “Automatically close and attempt to restart applications” and “Do not close applications (a reboot will be required).” Selecting the first option tells the installer to close the listed programs before continuing. The second option allows the installation to proceed and schedules any files that could not be updated for replacement at the next reboot. Either option allows the installation to continue — the first is faster, and the second is safer if other programs need to stay open.
To end the QuickBooks FCS service manually before installation: press Ctrl + Shift + Esc to open Task Manager. Click the Services tab. Find QBFCService or QuickBooks FCS in the list. Right-click it and select Stop. Also check the Processes tab for any QuickBooks-related processes (QBW32.exe, QBDBMgrN.exe, QBCFMonitorService.exe) and end each one. Retry the QuickBooks installation.
Fix 8: Reset the Internet Connection Settings in QuickBooks
Why Internet Settings Affect Installation After a Windows Feature Update?
QuickBooks uses internet connection settings — stored in Internet Explorer’s settings, which Windows maintains separately from the browser the user normally uses — to connect to Intuit’s servers for license verification and update downloading. Intuit’s own update error documentation confirms that incorrect internet connection settings can interfere with the update process, and lists restoring advanced internet settings as a specific fix for update failures. A Windows feature update that resets Internet Explorer’s network settings to their defaults can disrupt QuickBooks’ server connections if those settings were previously customized.
Open QuickBooks. From the Help menu, select Internet Connection Setup. Select Use my computer’s Internet connection settings to establish a connection when this application accesses the Internet. Select Next. Select Advanced Connection Settings. On the Advanced tab, click Restore Advanced Settings. Click OK. Select Done. Retry the QuickBooks update or installation.
Fix 9: Update QuickBooks to the Latest Release After the Windows Update
Why the Matching QuickBooks Update Restores Compatibility?
Intuit releases QuickBooks Desktop maintenance releases — also called patches — specifically to address compatibility changes introduced by Windows updates. A Windows feature update that breaks a previous version of QuickBooks may already have a corresponding QuickBooks patch that restores full compatibility. Intuit’s own documentation confirms: to install the latest maintenance release for QuickBooks Desktop, go to Help > Update QuickBooks Desktop > Update Now tab > Get Updates. Installing the latest maintenance release immediately after a Windows feature update closes the compatibility gap before it produces installation or startup failures.
For cases where QuickBooks is too broken to open and navigate to the update menu, Intuit provides a direct download path. Intuit’s documentation confirms: if you cannot update within the software, download the specific update file from the Intuit Downloads & Updates page. On the Downloads & Updates page, select the country, product, and version year, click Search, and click “Get the latest updates.” Run the downloaded file to apply the update directly without opening QuickBooks first.
All QuickBooks Desktop Fixes at a Glance
| Fix | What It Resolves | Time Required | When to Use It |
|---|---|---|---|
| Fix 1: Quick Fix My Program (Tool Hub) | Leftover QuickBooks processes and missing Microsoft tools | 5 min | Always the first step after a Windows feature update breaks QuickBooks |
| Fix 2: Install Diagnostic Tool (Tool Hub) | Component incompatibility from Windows update (.NET, MSXML, C++) | 15–20 min | Primary fix for all installation errors after Windows feature updates |
| Fix 3: Selective Startup installation | Updated antivirus blocking registry writes or installer file extraction | 15 min | When installation freezes at registry-writing step |
| Fix 4: Restart Windows Installer service | Service startup type changed by Windows update, preventing installations | 5 min | When installer opens but immediately closes without completing any steps |
| Fix 5: Rename QuickBooks installation folders | Corrupted QuickBooks folders caused by Windows update file permission changes | 10 min | For QuickBooks update failures (not fresh installations) after Windows update |
| Fix 6: Clean Install Tool + fresh reinstall | All other fixes insufficient; multiple errors or complete installation failure | 45–90 min | When individual fixes do not resolve multiple simultaneous installation errors |
| Fix 7: End QuickBooks FCS service | ‘Files in Use’ block by QuickBooks File Copy Service | 5 min | When ‘Files in Use’ message shows Intuit QuickBooks FCS as the blocking service |
| Fix 8: Reset Internet Connection Settings | Windows update reset internet settings, breaking QuickBooks server connection | 5 min | When QuickBooks update or license verification specifically fails to connect |
| Fix 9: Download and apply the latest QuickBooks maintenance release | Windows-update-specific compatibility gap addressable by Intuit’s patch | 10–20 min | After Windows feature update, before any other fix requiring a working QuickBooks |
Prevention: Keep QuickBooks Working After Every Future Windows Feature Update
- Run the Install Diagnostic Tool Immediately After Every Windows Feature Update
A Windows feature update changes .NET Framework, MSXML, and Visual C++ components that QuickBooks depends on. Running the QuickBooks Install Diagnostic Tool (Tool Hub > Installation Issues > QuickBooks Install Diagnostic Tool) immediately after every Windows feature update, before attempting any QuickBooks operation, closes the compatibility gap before it produces errors. This takes 20 minutes and eliminates the most common cause of QuickBooks installation failures after Windows feature updates. Setting a reminder to run the Diagnostic Tool every time the Windows update notification shows a feature update installed prevents the failure before it starts.
- Apply the Matching QuickBooks Maintenance Release Within 48 Hours of a Windows Feature Update
Intuit releases QuickBooks maintenance releases that address the compatibility changes introduced by Windows feature updates. Applying the latest QuickBooks maintenance release through Help > Update QuickBooks Desktop > Get Updates within 48 hours of any Windows feature update closes the compatibility gap from the QuickBooks side. The combination of running the Install Diagnostic Tool (which repairs components from the Windows side) and applying the latest QuickBooks maintenance release (which repairs compatibility from the QuickBooks side) together covers both layers of potential conflict after a Windows feature update.
- Create a Company File Backup Before Every Windows Feature Update
A Windows feature update involves replacing thousands of system files, which is a high-risk process for any software installed on the computer. Creating a company file backup through File > Back Up Company > Create Local Backup before every Windows feature update stores a confirmed clean copy of all accounting data that predates the update. A backup created before the update can be restored if the update produces QuickBooks data access issues, even if the QuickBooks program itself needs to be completely reinstalled. The backup file (.QBB) should be saved to an external drive or cloud storage, not to the same computer that will receive the Windows update.
- Confirm QuickBooks Version Is Compatible With the New Windows Version Before Updating
Intuit’s confirmed compatibility requirement states that only QuickBooks Desktop 2022 R3 and later versions are certified for Windows 11. A Windows feature update that upgrades Windows 11 to a new major release (such as upgrading from Windows 11 22H2 to Windows 11 24H2) may break QuickBooks 2022 R1 or R2 even though they were previously working, because the new Windows release has stricter requirements than the earlier one. Checking Intuit’s system requirements page for the QuickBooks version before applying a Windows feature update confirms whether the existing QuickBooks installation will remain fully supported on the new Windows version.
Conclusion
QuickBooks Desktop stops installing after a Windows feature update because the update changed the shared software components QuickBooks depends on, reset security settings that now block installation operations, or updated the Windows Installer service in an incompatible way. Each of these causes has a specific fix, and the QuickBooks Tool Hub from Intuit provides the most important two in one application: Quick Fix My Program (which clears background process conflicts and installs missing Microsoft tools) and the Install Diagnostic Tool (which repairs .NET Framework, MSXML, and Visual C++ components).
The complete fix sequence confirmed by a real documented case from Intuit’s community forum is: update the Tool Hub to version 1.6.0.8, run Quick Fix My Program, run the Install Diagnostic Tool, and if those steps do not resolve it, perform a clean reinstall using the Clean Install Tool followed by a fresh installer downloaded from Intuit’s official Downloads & Updates page. This sequence resolves the multiple simultaneous installation errors (1712, 1603, 1311) that Windows feature updates most commonly produce.
The company file remains completely safe throughout any installation failure after a Windows feature update. The .QBW file is stored in a separate folder and is never written to by the installation process. A backup of the company file created before the Windows feature update provides an additional layer of protection against any unexpected outcome during the repair process.
Frequently Asked Questions
1. QuickBooks Desktop 2024 stopped working after a Windows 11 feature update upgraded Windows from 22H2 to 24H2. Is QuickBooks 2024 compatible with Windows 11 24H2?
QuickBooks Desktop 2024 is certified for Windows 11, but each new Windows 11 feature update release can introduce new component changes that require a corresponding QuickBooks maintenance release to restore full compatibility. The correct immediate action is to apply the latest QuickBooks 2024 maintenance release from Intuit’s Downloads & Updates page (selecting the US, QuickBooks Desktop Pro Plus or Premier Plus 2024, and clicking Get the latest updates).
If QuickBooks cannot be opened to apply the update, download the update file directly from the Downloads & Updates page and run it from the Desktop. If the update does not restore full functionality, run the Install Diagnostic Tool from the QuickBooks Tool Hub to repair any component changes the Windows 11 24H2 update introduced.
2. The Windows feature update was installed automatically overnight and QuickBooks stopped working the next morning. How can future automatic updates be managed?
Windows 11 applies feature updates automatically based on the update schedule set in Settings > Windows Update > Advanced Options. The “Choose when updates are installed” setting allows a delay of up to 5 weeks for feature updates. Setting this delay to 2 to 4 weeks gives time for Intuit to release a matching QuickBooks maintenance release before the Windows feature update is applied.
During the delay period, checking Intuit’s community forum and the QuickBooks blog for compatibility notices about the specific Windows feature update allows the update to be applied with confidence after the matching QuickBooks patch is available. Automatic security updates should remain enabled even with feature update delays.
3. After the Windows feature update, QuickBooks opens but payroll does not work. Is payroll affected differently than the rest of QuickBooks?
Payroll in QuickBooks Desktop uses a separate set of components and a separate data folder (the CPS folder at C:\ProgramData\Intuit\QuickBooks) from the main QuickBooks program. A Windows feature update that changes folder permissions or component versions can affect payroll independently from the rest of QuickBooks.
A confirmed fix for payroll-specific failures after Windows updates is to add the C:\ProgramData\Intuit\QuickBooks folder to the antivirus exclusion list (which an updated Windows Defender may have re-removed) and to download a Complete Payroll Update through Employees > Get Payroll Updates > Download Entire Payroll Update in single-user mode. This replaces the payroll component files with fresh versions that match the current QuickBooks and Windows environment.
4. The Windows feature update installed and QuickBooks 2021 stopped working entirely. Reinstalling 2021 also fails. What are the options?
QuickBooks Desktop 2021 is not compatible with Windows 11, and Intuit confirmed this directly: Windows 11 is not compatible with QuickBooks Desktop 2021 and older versions. A Windows 11 feature update that upgrades to a newer Windows 11 release can break QuickBooks 2021 functionality in ways that no repair tool can permanently fix, because the incompatibility is at the architectural level — QuickBooks 2021 was not designed for Windows 11’s security and component models.
QuickBooks Desktop 2021 reached its end-of-support date on May 31, 2024, which means Intuit no longer releases patches to address Windows 11 compatibility issues for that version. Upgrading to QuickBooks Desktop 2022 R3 or later is the only permanent solution.
5. QuickBooks installs successfully after the Windows feature update but the first launch shows an error about the company file path. What happened to the company file?
A clean install of QuickBooks removes the QBWUSER.INI settings file — which stores the path to the last-opened company file — as part of clearing old installation data. QuickBooks opens to the No Company Open window and cannot automatically locate the company file it previously opened. The company file itself is completely intact at its original location.
Click Open or Restore an Existing Company from the No Company Open window, select Open a Company File, click Next, navigate to the folder where the .QBW file was saved (typically the user’s Documents folder under QuickBooks [Year], or a shared network folder), select the file, and click Open. The company file opens normally and all accounting data is accessible.
Anusmita is a seasoned content writer who brings perspective to words. As a writer, she enriches her work with a journalistic aptitude, utilising her training in Mass Communication and Journalism. She loves to travel and explore, which imparts a greater sense of understanding, maturity, and experience that are reflected in her content.
Beyond her professional work, Anusmita enjoys painting, singing, dancing, and spending time planting. She is also a self-proclaimed foodie who loves exploring different cuisines, an interest that further adds to her curiosity and perspective as a writer.
Leave a Reply