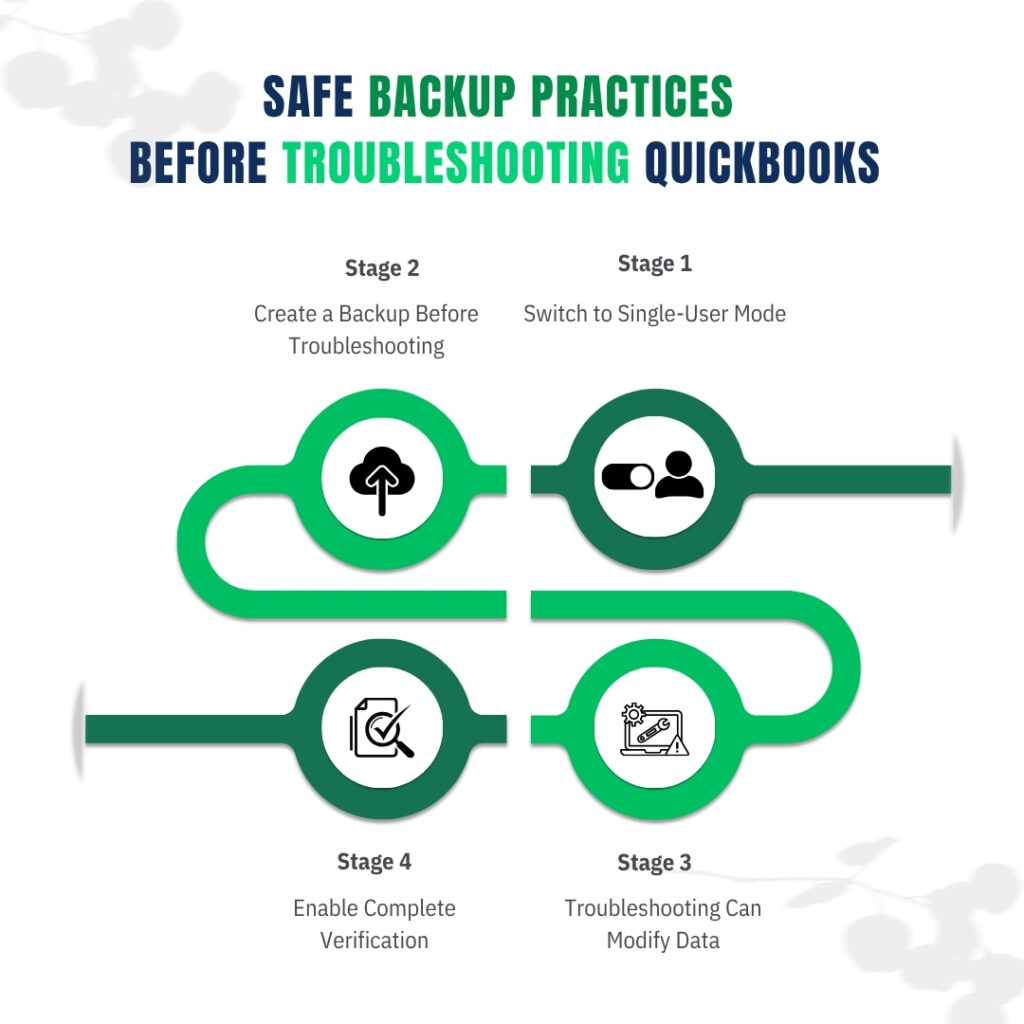
Every QuickBooks Desktop troubleshooting step requires- running Verify Data, using Rebuild Data, applying the Install Diagnostic Tool, performing a clean install, or renaming configuration files – modifies either the company file or the program files on the computer. A backup created before any of these steps is the only way to return to the exact state of the data before the troubleshooting began. Without a backup, a repair step that produces an unexpected result permanently changes the company file with no way to reverse it.
Intuit’s own official support documentation states this requirement clearly: before creating the backup, QuickBooks must be in single-user mode, and the Complete Verification option must be selected so the backup file is tested for integrity before it is saved. A backup created without verification might appear to save successfully but contain errors that prevent it from restoring correctly when it is needed. Following the steps in this article creates a backup that is confirmed clean and can be restored in full.
This article covers what a QuickBooks Desktop backup actually contains, why the backup file format matters before troubleshooting, the exact steps to create a verified backup in single-user mode, where to store it safely, how to verify that the backup can actually be restored, and how to set up automatic backups to protect against future incidents. Every step is sourced from Intuit’s official backup documentation and community support responses.
Table of Contents
What a QuickBooks Desktop Backup Contains and What It Does Not?
A QuickBooks Desktop backup file stores a complete, compressed copy of the company file and the supporting data it depends on. According to Intuit’s official documentation, the backup includes: all accounting data (every transaction, invoice, bill, paycheck, journal entry, and bank reconciliation ever entered), templates and forms (the invoice layout, statement format, and any customized forms), letters, logos, images attached to transactions, and related QuickBooks files including the QuickBooks Statement Writer, Cash Flow Projector, Business Planner, and Loan Manager data.
The backup file does not include payroll forms. Intuit’s documentation specifically states: “It doesn’t back up your payroll forms.” Payroll forms in this context refers to completed government tax forms like Form 941 (the quarterly federal payroll tax return) and Form W-2 (the annual wage statement sent to employees). These completed forms are stored separately from the main company file and must be backed up through QuickBooks’ payroll form submission history or saved as PDFs separately. The backup covers all payroll transactions – the checks, direct deposits, and payroll liabilities – but not the completed PDF versions of the tax forms themselves.
Understanding what the backup contains matters before troubleshooting because it defines what can be recovered if a repair step goes wrong. A confirmed backup created before running Rebuild Data means every transaction, template, and logo can be fully restored. The payroll form PDFs, if they are stored separately from the company file, need their own separate copy created before any repair that might affect those storage locations.
The Four QuickBooks File Types: Which One to Use Before Troubleshooting
QuickBooks Desktop uses four different file formats for different purposes. Using the wrong file type before troubleshooting leaves the business with a file that cannot restore the full company data when it is needed. This is one of the most common backup mistakes – creating a portable file instead of a full backup and discovering the limitation only after a repair goes wrong.
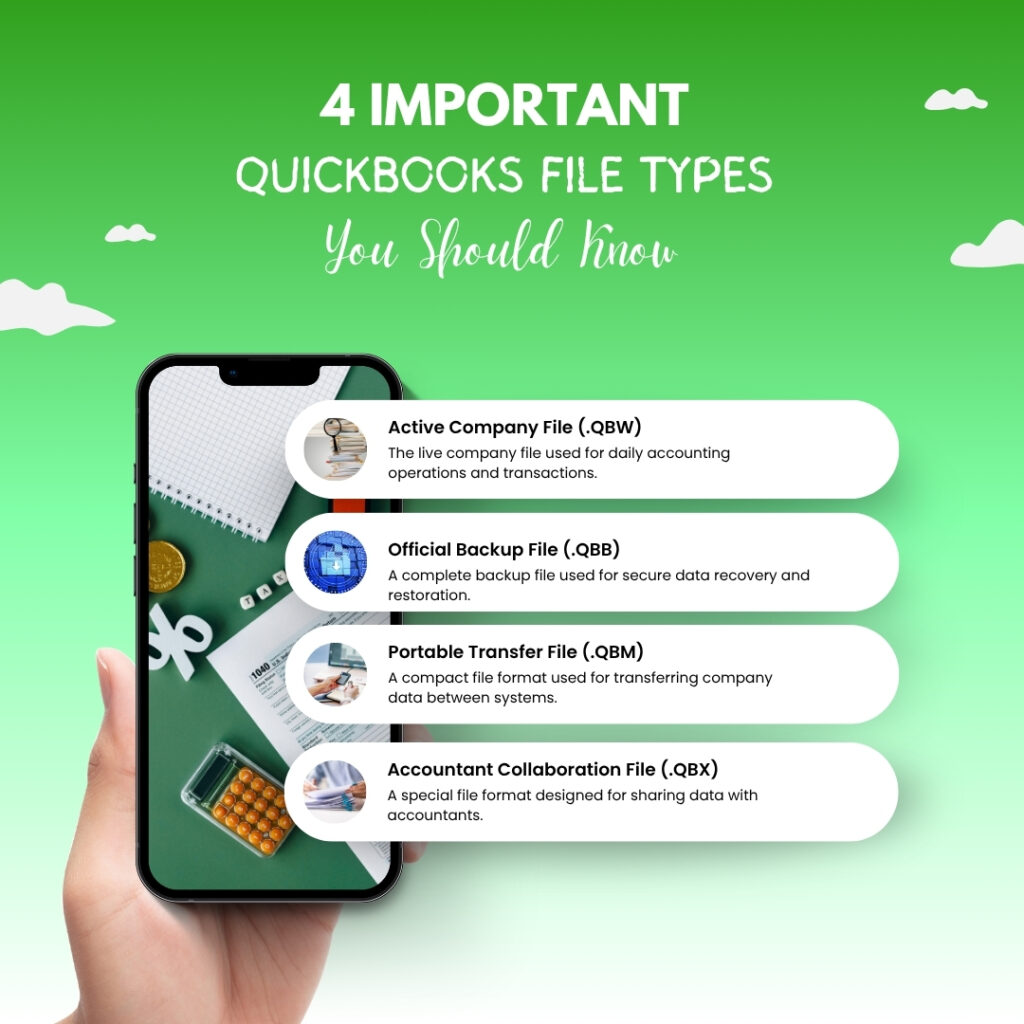
The .QBW File – The Working Company File
The .QBW file – where QBW stands for QuickBooks Working file – is the main company file that QuickBooks opens and works with during every active session. This is the file that contains all accounting data and is read and written to continuously while QuickBooks is running. The .QBW file is not a backup. It is the live, active version of the company data. Intuit’s community forum confirms directly: one .QBW file is the working file and multiple .QBB files are the backup copies. The .QBW file should never be stored in the backup folder as a substitute for a .QBB backup file.
The .QBB File – The Full Backup File Used Before Troubleshooting
The .QBB file – where QBB stands for QuickBooks Backup – is the complete, compressed backup copy of the company file that QuickBooks creates through the Create Local Backup function. This is the only file format that should be used as the backup before troubleshooting. The .QBB file contains everything the .QBW file contains – all accounting data, templates, logos, and supporting files – compressed into a single file. When a repair step needs to be reversed, QuickBooks opens the .QBB file through File > Open or Restore Company > Restore a Backup Copy and converts it back to a working .QBW file. A .QBB file created with Complete Verification enabled is confirmed to be in a restoreable state before it is saved.
The .QBM File – The Portable File That Is NOT a Backup
The .QBM file – QuickBooks Portable Company File – is a lightweight, reduced version of the company file designed for transferring data to another computer or to an accountant. Intuit’s documentation describes it as a “smaller file that only contains your accounting data that you want to share or move” – and notes that it “lacks some of the information included in a full backup, like templates, logos, and images.” A portable file must never be used as the backup before troubleshooting because it does not contain the complete company file data. Using a .QBM file as the restore point after a failed repair step leaves the business without its invoice templates, logo files, and related supporting data.
The .QBX File – The Accountant’s Copy
The .QBX file is the Accountant’s Copy format that allows an accountant to make changes to the books while the business continues daily operations. The Accountant’s Copy is not a backup file and should not be used as one. It is a special format with specific restrictions on what changes can be made. Creating an Accountant’s Copy before troubleshooting does not create a restore point – it creates a restricted-access version of the file that is designed for a specific collaboration workflow, not for data protection during repairs.
| File Extension | File Name | Use Before Troubleshooting? | Contains Complete Data? |
| .QBW | QuickBooks Working File | No – this is the live file, not a backup | Yes – all data, but modifiable |
| .QBB | QuickBooks Backup File | Yes – this is the correct backup format | Yes – complete, compressed, verified |
| .QBM | Portable Company File | No – missing templates, logos, and images | No – accounting data only |
| .QBX | Accountant’s Copy | No – not a backup format | Partial – restricted access version |
How to Create a Verified Backup Before Troubleshooting: Step-by-Step?
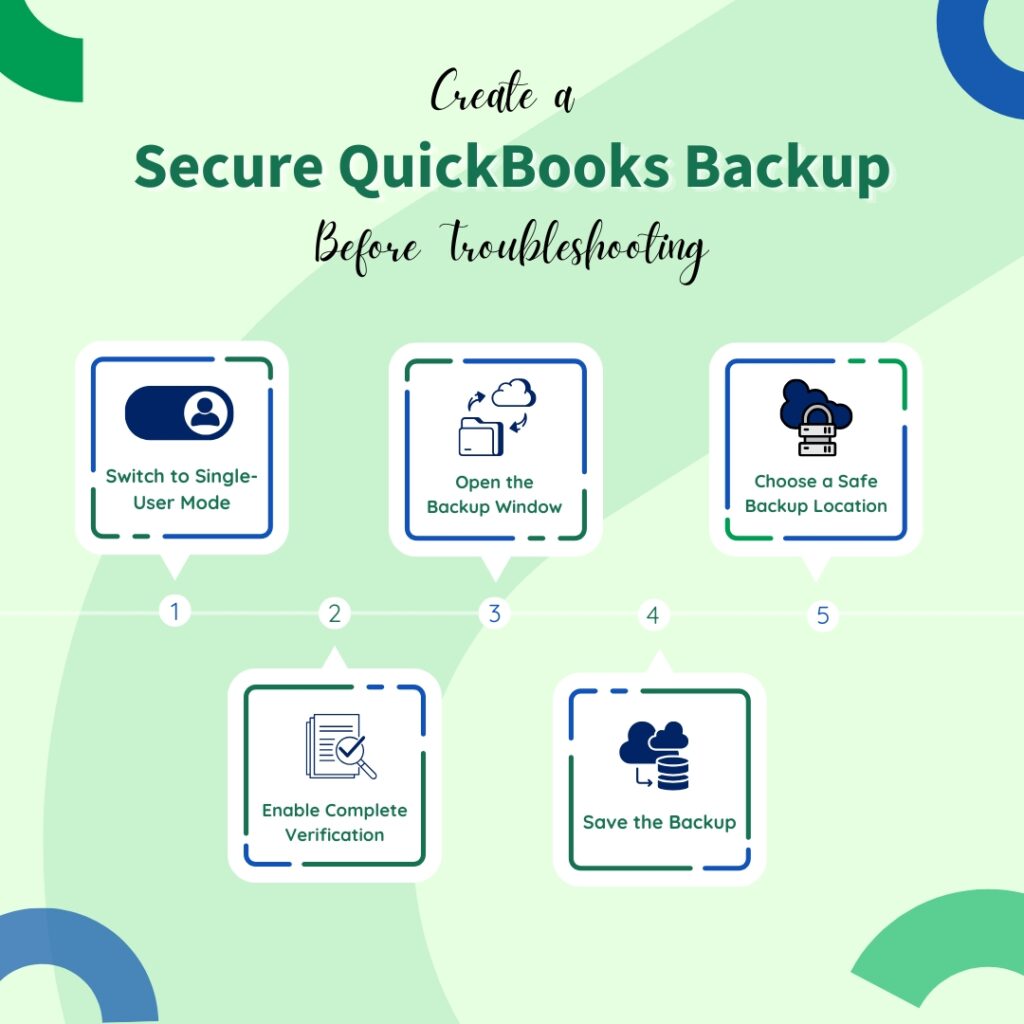
To create a verified backup before troubleshooting follow the below given step-by-step methods. The five steps are:
- Step 1: Switch to Single-User Mode
- Step 2: Open the Create Local Backup Dialog
- Step 3: Choose the Backup Location on a Separate Drive
- Step 4: Enable Complete Verification – This Step Is Mandatory
- Step 5: Save the Backup Now
Step 1: Switch to Single-User Mode
QuickBooks must be in single-user mode to create a backup. Single-user mode means only one person on one computer is accessing the company file, with all other users disconnected. Creating a backup while other users are still connected to the file in multi-user mode can produce a backup that captures the file mid-write, which may include partially completed transactions that make the backup unstable.
Go to the File menu at the top of the QuickBooks window. Select Switch to Single-User Mode. QuickBooks will prompt all connected users to save and close their work before the switch completes. Confirm that no other QuickBooks users are shown as connected before proceeding. If other users are still connected, wait for them to close their sessions before moving to Step 2.
Step 2: Open the Create Local Backup Dialog
Go to the File menu. Hover over Back Up Company. Select Create Local Backup from the sub-menu. A window opens with two backup destination choices: Local Backup and Online Backup. Select Local Backup and click Next. Local Backup saves the .QBB file directly to a location on the computer or a connected external drive, which is immediately accessible for restoration without requiring an internet connection.
Step 3: Choose the Backup Location on a Separate Drive
The backup must be saved to a location on a drive that is separate from the drive storing the active company file. Saving the backup to the same drive as the company file means both the original and the backup are lost together if that drive fails. An external hard drive connected to the computer by USB, a network drive on a different computer on the office network, or a USB flash drive are all appropriate backup locations for pre-troubleshooting backups.
In the Local Backup Only section, click Browse and navigate to the external drive or separate folder where the backup should be saved. The default location QuickBooks suggests is usually on the same drive as the company file – change this to the external location. Set the number of backup copies to keep to at least 3, so QuickBooks retains the three most recent backups in that folder automatically.
Step 4: Enable Complete Verification – This Step Is Mandatory
Complete Verification runs a data integrity check on the company file before the backup is created. This test confirms that the data in the backup file is valid and can actually be restored. A backup saved without Complete Verification may appear to save successfully but contain errors in the compressed data that only appear when restoration is attempted. According to Intuit’s official backup documentation, selecting Complete Verification “runs a test to make sure your backup file is in good shape before you save.” Skipping this step is the most common reason a backup file fails to restore correctly under an emergency.
In the Online and Local Backup section, find the verification options. Select Complete verification. This option scans the company file for data integrity before the backup is compressed and saved. If Complete Verification finds errors, it will report them before saving the backup – which is the correct time to know about the errors, not after the troubleshooting repair has already run. Click OK to save the settings.
Step 5: Save the Backup Now
In the next window, select Save it now and then click Next. QuickBooks runs the Complete Verification first, then compresses and saves the .QBB file to the chosen location. A progress indicator appears during the backup process. Do not close QuickBooks or the progress window while the backup is running. When the backup completes successfully, QuickBooks displays a confirmation message: “QuickBooks has saved a backup of the company file.” Note the exact file name and location shown in the confirmation for later reference.
The backup file name that QuickBooks generates automatically includes the company file name, the date, and a sequence number – for example, CompanyName (Backup Jan 15 2026).QBB. This naming convention makes it easy to identify which backup corresponds to which date when multiple backups exist in the same folder. Before starting any troubleshooting step, confirm the backup file appears in the destination folder with the correct date and a file size that is greater than zero.
Confirming What the QuickBooks Desktop Data Backup Has Saved?
Check the Backup File Size
After the backup completes, open the destination folder in File Explorer and right-click the .QBB file. Select Properties. The file size shown in Properties should be meaningful – for most small business company files, the .QBB backup will be between 30% and 60% of the size of the original .QBW file, because the backup process compresses the data. A .QBB file with a size of 0 bytes or a few kilobytes did not back up correctly and cannot be restored. Do not proceed with any troubleshooting step until a .QBB file of a reasonable size exists in the backup destination.
Record the Backup Details Before Starting Troubleshooting
Before starting any troubleshooting step, write down or save in a document: the full path of where the backup file is saved (for example, D:\QuickBooks Backups\CompanyName (Backup Jan 15 2026).QBB), the date and time the backup was created, and the current QuickBooks version and release number (found by pressing Ctrl + 1 inside QuickBooks, which opens the Product Information window showing the version). These three pieces of information are needed to restore the backup correctly if a repair step requires reverting the file.
Where to Store the QuickBooks Desktop Data Backup and How Many Copies to Keep?
Store Copies in Two Separate Locations
A single backup copy stored in one location is not sufficient protection before major troubleshooting. A hardware failure, a fire, or a theft that affects the backup location eliminates that protection entirely. The rule documented by multiple QuickBooks backup guides is the same rule Intuit’s own recommendations align with: keep at least one copy on-site (on an external hard drive or USB drive physically present at the office) and at least one copy off-site (in a separate physical location or in cloud storage).
Backup .QBB files – unlike the active .QBW company file – can be safely stored in cloud storage services like Dropbox, OneDrive, or Google Drive. The reason active company files cannot be stored in cloud storage (because cloud sync services continuously upload files that QuickBooks is actively writing, causing conflicts) does not apply to backup .QBB files, which are not written to after they are created. Copying the .QBB backup to a cloud storage folder immediately after creating it adds an off-site copy in under a minute.
Keep at Least Three Backup Copies
Setting QuickBooks to keep 3 backup copies in the backup folder (configurable through the Number of Backup Copies to Keep setting in the Create Local Backup options) means the three most recent backups are always available. Having three copies matters because a backup created immediately before a troubleshooting step may capture a state that reflects a pre-existing problem. Having the backup from two sessions ago and three sessions ago provides additional restore points if the most recent backup also contains the issue being troubleshot. Three copies is the documented minimum; high-volume businesses or businesses in the middle of year-end close should keep five or more.
Setting Up Automatic QuickBooks Desktop Data Backups for Ongoing Protection
Why Automatic Backups Are Necessary
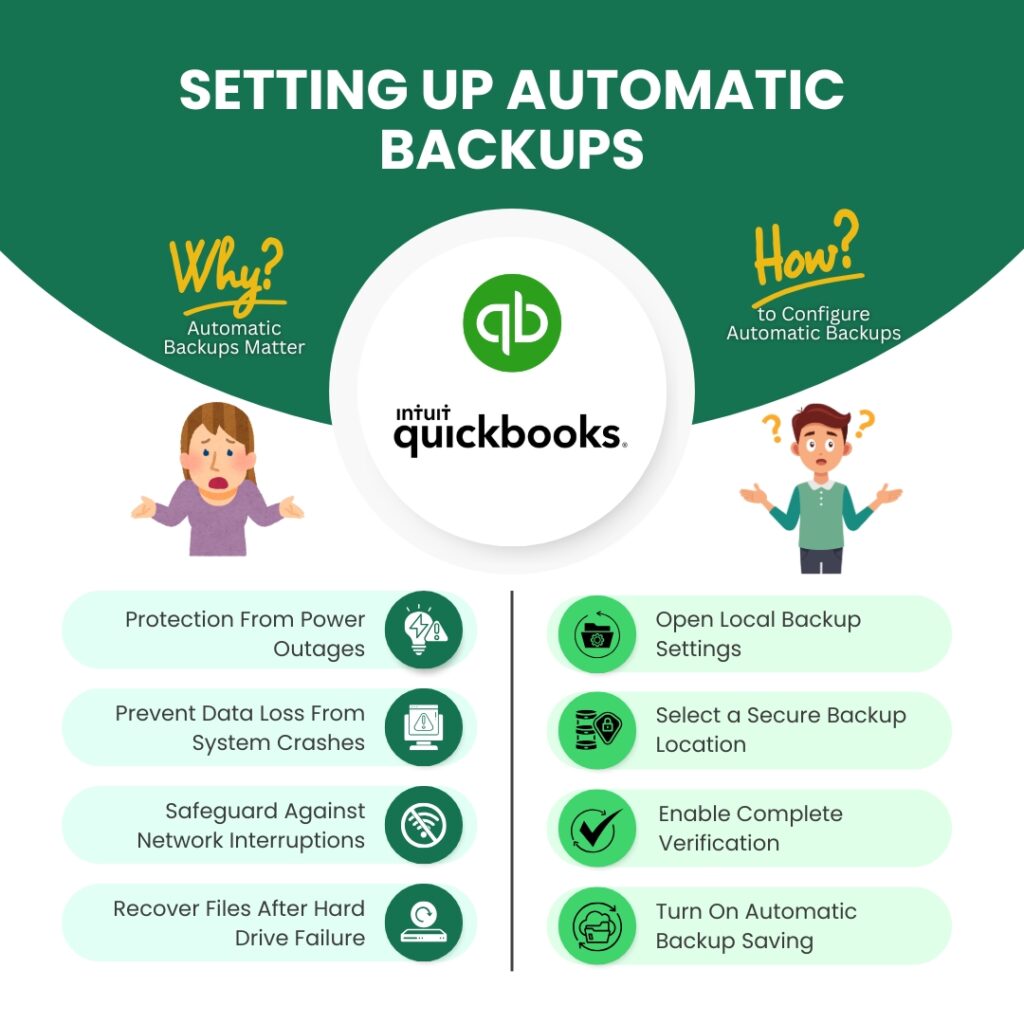
Manual backups created only when problems arise are not a backup strategy – they are a reactive response. A company file can be damaged at any point between manual backups: a power outage on a Thursday afternoon, a network drop during a Friday payroll run, or a hard drive error over the weekend all produce damage that a backup created only “before troubleshooting” cannot protect against. Automatic backups run on a schedule without requiring any human action, which means a clean restore point is always available regardless of when damage occurs.
Intuit’s official backup documentation describes two automatic backup triggers: a scheduled backup that runs at a specified time each day, and a backup that runs automatically every time QuickBooks is closed. The “save backup copy automatically when I close my company file” option is the most practical for small businesses, because it ties the backup to the end of each working session – exactly when the most recent day’s transactions are complete. This option is available in the same Create Local Backup scheduling screen where scheduled backups are configured.
How to Schedule Automatic Backups
Go to File > Back Up Company > Create Local Backup. Select Local Backup and click Next. Set the backup location and enable Complete Verification. Click Save it now and schedule future backups, then click Next. Check the box labeled Save backup copy automatically when I close QuickBooks every [X] times – set X to 1 so a backup runs every single time QuickBooks is closed. To create a time-scheduled backup as well, click New under the Schedule section, set the frequency to Daily, choose a time outside business hours (such as 11:00 PM), and click OK. QuickBooks will ask for the Windows login password to allow scheduled backups to run when the user is not present.
An important practical note from a documented Intuit community forum case: a user reported that automatic backups started failing when the company file needed to be closed before the backup could succeed. The user discovered this only after months of the issue, meaning they had almost no recent backups. This confirms that regular manual checks of the backup destination folder – confirming that recent .QBB files are present with meaningful file sizes – are necessary even when automatic backups are configured.
Testing the QuickBooks Desktop Data Backup: How to Confirm It Can Actually Be Restored
Why Testing the Backup Matters
A backup that was never tested is a backup that is assumed to work rather than confirmed to work. The Complete Verification step during backup creation confirms the data was healthy when it was backed up and that the .QBB file structure is valid. Testing the actual restore confirms that the .QBB file can be opened by QuickBooks and converted back to a working .QBW file. These are two different confirmations. A backup file can pass Complete Verification but still fail to restore if the file was saved to a drive that later developed read errors, if the file name contains special characters QuickBooks cannot process, or if the .QBB file was corrupted during the file copy to an external drive.
Testing a backup restore does not mean replacing the current working company file. The test restore is saved under a different file name, on a different computer if possible, so the live company file is not affected. Once the test restore opens successfully and a spot-check of the data confirms the most recent transactions are present, the backup is confirmed valid and the original working file is left unchanged.
How to Test a Backup Restore
If the backup file is stored on an external drive or cloud storage, move a copy of the .QBB file to the local hard drive of the computer first. Intuit’s documentation confirms: if a backup file is kept on an external device or a hosting service like Box, it must be moved to the local hard drive before restoring. Open QuickBooks. Go to File > Open or Restore Company. Select Restore a Backup Copy and click Next. Select Local Backup and click Next. Browse to the .QBB file and click Open.
In the Save Company File As window, change the file name to something clearly different from the current working file – for example, add “_TEST” to the end of the file name. Save it to a different folder from the working company file. QuickBooks will restore the .QBB file and open it as a working .QBW file with the new test name. Check that the most recent transactions are present by opening the last few invoices, the most recent paycheck, and the most recent bank reconciliation. Confirm that the dates and amounts match what was entered before the backup. Close the test file and delete it from the computer after confirming the data is correct.
Pre-Troubleshooting QuickBooks Desktop Data Backup Checklist
Complete every item in this checklist before starting any QuickBooks troubleshooting step. Each item has a specific reason it matters.
| Checklist Item | Why It Matters | Completed? |
| Switch to Single-User Mode before backing up | Multi-user backups may capture mid-write states; single-user ensures a clean backup | ☐ |
| Select Local Backup, not Online Backup | Local Backup is immediately accessible without internet for restoration | ☐ |
| Set backup destination to a separate drive, not the same drive as the company file | A drive failure wipes both the original and the backup if stored together | ☐ |
| Enable Complete Verification before saving | Confirms the .QBB file is valid before saving; catches errors before troubleshooting | ☐ |
| Confirm the .QBB file appears in the destination folder after the backup | A missing or zero-byte .QBB file means the backup did not complete successfully | ☐ |
| Record the backup file path, date, and QuickBooks version number | Needed to locate and restore the correct backup file if repairs require reversal | ☐ |
| Copy the .QBB to a second location (cloud or second drive) | Provides an off-site copy in case the first backup location is affected | ☐ |
| Test restore the .QBB to a different file name to confirm it opens | Confirms the backup is actually restorable, not just saved | ☐ |
| Verify most recent transactions appear in the test restore | Confirms the backup captured the correct data state before troubleshooting | ☐ |
| Delete the test restore file after confirming | Prevents confusion between the test file and the working company file | ☐ |
Intuit Data Protect: The Built-In Cloud QuickBooks Desktop Data Backup Option
Intuit Data Protect is a cloud backup service built directly into QuickBooks Desktop. All QuickBooks Desktop Pro Plus, Premier Plus, and Enterprise subscriptions include Intuit Data Protect at no additional fee. It provides up to 100 GB of cloud backup storage, uses AES encryption (a strong data protection standard that scrambles the backup data so only QuickBooks can read it), runs automatic daily backups, and retains backup versions for up to 45 days. The 45-day retention means the business can restore the company file to any daily backup point from the past 45 days, not just the most recent one.
Intuit Data Protect does not replace the manual local backup that must be created before troubleshooting. The cloud backup provides a separate off-site protection layer for daily operations, but when a specific troubleshooting step is about to run – such as Rebuild Data, a clean install, or a major Windows update – a fresh manual local backup must be created first. This ensures the exact pre-troubleshooting state of the file is preserved locally, available for immediate restoration without depending on an internet connection to retrieve the cloud backup.
To set up Intuit Data Protect: open QuickBooks and go to File > Back Up Company. Look for the Set Up/Activate Online Backup option. Follow the prompts to sign in with the Intuit account linked to the QuickBooks subscription and configure the backup schedule. Set backups to run daily at a time when the company file is closed or when minimal activity occurs. Once active, Intuit Data Protect runs in the background without any manual action required.
Conclusion
A backup created before troubleshooting is the only protection against a repair step that makes a problem worse rather than better. Every major QuickBooks troubleshooting action – Rebuild Data, Verify Data, the Install Diagnostic Tool, renaming configuration files, or a clean install – modifies the company file or program files. A confirmed .QBB backup created in single-user mode with Complete Verification enabled, saved to a drive separate
Frequently Asked Questions
1. What should I do if the “Complete Verification” step fails with an error?
If QuickBooks flags errors during the verification process, do not proceed with troubleshooting steps like Rebuild Data yet. A failed verification means there is existing “data damage.” In this case, you should still attempt to save the backup (even if unverified) but label it “DAMAGED.” Then, try to run the QuickBooks Tool Hub and the QuickBooks File Doctor first. Having a copy of the damaged file is still better than having no copy at all before you attempt a repair.
2. Can I restore a .QBB backup created in a newer version of QuickBooks to an older version?
No. QuickBooks data is not backward compatible. If you create a backup in QuickBooks Desktop 2024, you cannot restore that file into QuickBooks Desktop 2021. Before troubleshooting, always ensure you know your current version ($Ctrl + 1$). Если you are planning to upgrade your software as part of the troubleshooting, remember that once the file is converted to the new version, you cannot “downgrade” it back to the old format.
3. Does the backup include my “Attached Documents” folder?
While the article mentions logos and images attached to transactions, it is important to note that QuickBooks stores these in a separate folder (usually named [Company Name] – Attached Documents) located next to your company file. A standard .QBB backup includes these, but if you are manually moving files to a new computer for troubleshooting, you must manually copy this folder to ensure your document links don’t break.
4. Why is my .QBB backup file size significantly larger (or smaller) than my friend’s file of the same size?
The compression ratio of a .QBB file depends heavily on your Audit Trail. If you haven’t condensed your data in years, the Audit Trail makes the file bulky. Conversely, if you use “Condensed Data” features, your backup will shrink significantly. Before troubleshooting, a “sudden” change in your usual backup size (e.g., it drops from 200MB to 50MB) is a red flag that the backup may be incomplete, even if the software says it was successful.
5. Can I use a Windows System Restore point instead of a QuickBooks Backup?
Absolutely not. A Windows System Restore point rolls back system files, registry keys, and program installations, but it does not protect or roll back your QuickBooks (.QBW) data file. Relying on a System Restore point during QuickBooks troubleshooting will result in a program that is “rolled back” but a database that remains corrupted or modified, often leading to version mismatch errors.
Anusmita is a seasoned content writer who brings perspective to words. As a writer, she enriches her work with a journalistic aptitude, utilising her training in Mass Communication and Journalism. She loves to travel and explore, which imparts a greater sense of understanding, maturity, and experience that are reflected in her content.
Beyond her professional work, Anusmita enjoys painting, singing, dancing, and spending time planting. She is also a self-proclaimed foodie who loves exploring different cuisines, an interest that further adds to her curiosity and perspective as a writer.
Leave a Reply